DIY Wedding Projects
This blog post from Estate Weddings and Events is well worth the RE-post!
To view the original post, go here to DIY Wedding Projects
10 Things You Should DIY Rather Than Buy For Your Wedding
By Abigail Geer

If you’re a DIY bride looking for fun and creative projects to help make your big day truly unique then look no further!
We’ve compiled a list of some of our favorite DIY ideas, most of which are accompanied by ‘How To’ instructions.
It was hard to stop at just 10 but we wanted to make sure we only offered up the most beautiful and elegant DIY projects so you can keep your special event classy not trashy.
Prepare to be inspired…
DIY Wax Paper Backdrop
Believe it or not this stunning backdrop is totally DIY! If you are lusting after the perfect focal point for your ceremony or reception then nothing short of this backdrop will do. The lightness of the wax paper helps it to hang beautifully, giving a light and airy quality that won’t draw attention away from you and your beau. It’s simple yet impactful, and with little more than string, ribbon and paper it can be designed to fit any size venue.
See more and find out how to make your own wax paper backdrop over at – Style Me Pretty


Images by Allie Rae Photography via Style Me Pretty
DIY Pie in a Jar Treats
Nothing quite compares to homemade cooking, which is why these super sweet pie in a jar treats make for the perfect wedding favors, or even wedding appetizers to keep everyone happy. You don’t need any fancy ingredients, and the recipe is easy to modify to suit different diets and lifestyle choices.
See more and find out how to make your own pie in a jar treats over at – Green Wedding Shoes

Image by Candice Benjamin via Green Wedding Shoes
DIY Magnolia Napkins
This crafty napkin tutorial isn’t exclusively for weddings, but these easy iron-on magnolia napkins is sure to leave a lasting impression on your guests. Elegant, classic and all possible in 4 easy to follow steps they are the perfect addition to your wedding table decorations.
See more and find out how to make your own magnolia napkins over at – Style Me Pretty


Images by White Loft Studio via Style Me Pretty
DIY Easy Favor Boxes
Wedding favors are easily overlooked, but when they’re packaged beautifully they will definitely get noticed… and if you think about it they are like mini centerpieces for each individual place setting! Another great way to make a feature of your favors is to pile them together for an eye catching arrangement. Homemade favors have a reputation for looking crafty but these adorable gold bird truffle boxes are charming, impressive, and totally affordable.
See more and find out how to make your own bird favor boxes over at – Wedding Chicks

Image by Tulle Box Design via Wedding Chicks
DIY Herbal Wedding Boutonnieres
Casual and aromatic herbs are ideal for a late summer or fall wedding. As far as what herbs to use, the sky really is the limit. From lavender and thyme to oregano and sage, the best part of all about these gorgeous boutonnieres is you can dry them and use them later for cooking. It doesn’t get more eco friendly than that!
See more and find out how to make your own herbal boutonniers over at – Once Wed

Image by Lisa Warninger via Once Wed
DIY Floral Pergola Project
Romantic and whimsical, this stunning DIY floral pergola looks a million bucks but you can make it for very little. Depending on your color scheme you can easily swap out the flowers and fabrics used in this tutorial with ones that work better with your style and vibe. Use your pergola to capture once in a lifetime shots of you and your partner. If it’s a bright sunny day then the soft fabric will act as an ideal diffuser for the harsh lighting conditions, making sure you retain your gorgeous glow.
See more and find out how to make your own floral pergola over at – Green Wedding Shoes

Images via Charlotte Tittle Photography via Green Wedding Shoes
DIY Heirloom Cake Topper
Whatever you’re wedding cake, be it a traditional multi-tier affair or a weird and wonderful custom creation, you’re going to need a topper. This super simple yet ever so clever cake topper will add a splash of nostalgia and vintage flair to your wedding cake. It also makes for the perfect keepsake to hold onto after your cake has been devoured. Your only dilemma is how to go about not offending anyone when you choose which side of the family will take the limelight!
See more and find out how to make your own heirloom cake topper over at – Style Me Pretty

Image by Jackie Wonders via Style Me Pretty
DIY Herbs in a Teacup
Whether you’re on the hunt for eco friendly wedding favors or you simply want something practical that isn’t going to become just another throwaway then then these unique favors will hit the spot. Vintage teacups come in a plethora of shapes, sizes and quaint designs and you can find them aplenty at yard sales or second hand stores. Rather than leave them sitting pretty and gathering dust in your cupboard put them to good use and make these super easy and inexpensive potted herb favors?
See more and find out how to make your own herbs in a teacup over at – Intimate Weddings

Image via Intimate Weddings
DIY Rustic Wedding Bouquet
Rather than put a huge dent in your budget paying over the odds for pricey wedding bouquets, why not have a go at making your own? It may seem like an impossible feat but it’s really not as hard as it sounds, it’s also a great way to ensure you’re walking down the aisle with exactly what you envisioned as opposed to someone else’s interpretation. It might take a little practice to master the art of the perfect wedding bouquet, but the end results will be well worth it.
See more and find out how to make your own rustic wedding bouquet over at – Rustic Wedding Chic

Image by MCR Projects via Rustic Wedding Chic
DIY Wedding Flower Crown
If you fancy something a little different than the traditional wedding tiara then a flower crown is the way to go. Delicate and elegant, flower crowns look divine over a long drop veil, and they’re not that hard to make. If you’re using real flowers, which we totally recommend, then they don’t have a very long lifespan so you’ll definitely want to make this on the day before, if not the day, of your wedding. Keep it simple by sticking to three choice blossoms for a much more refined and classic look.
See more and find out how to make your own flower crown over at – Once Wed

Image by Rylee Hitchner via Once Wed
– See more at: http://www.estateweddingsandevents.com/wedding-planning-2/things-you-should-diy-rather-than-buy-for-your-wedding/#sthash.Dt88BeeX.dpuf
Happy Planning!
-Juliette
Here at Simply Elegant Weddings, we know how expensive weddings can get! All the different pieces to the puzzle add up very quickly, and most people end up over extending their wedding budgets by hundreds, sometimes thousands of dollars. Being realistic in your budget planning will help you to stay on track. Before you set a total $ amount on your budget, do one night of research. How much does (venue, photographer, wedding flowers, DJ, rentals, dinner) for 200 guests cost? Once you know get an idea for what these services cost in your area, you can go over who will be chipping in, how much, and what will they be paying for? A good tip on asking loved ones for money is, don’t ask them to pay for the whole thing. If they were going to pay for the whole thing, there is a good chance you would know it already! Instead, ask them to pay for specific items: catering, the dress, the tux, the flowers, the cake, the photos! This blog is all about tips and tricks on ways to save on things for your wedding day. So if you over spend in one area, you can try to make it up in another! So be sure to check back and learn more about how to save on your wedding!
Oh, and here is my biggest advise: Stay true to who you are! If you don’t like cake, don’t have one! If you hate wearing white, do something different! Your guests will appreciate your personality shining through on the day that is supposed to be all about you and your fiancé as a couple! It is your day, and it should be just that!
Here is a wonderful article written by The Insider’s Jenny Creno. In it are some wonderful money saving tricks from the wedding industry’s top professionals!
Soon after couples announce their engagement, planning the wedding becomes one of the first financial obstacles that the couple has to overcome together. The best thing to do is to learn about typical trends when it comes to planning a wedding and what mistakes lead to the most financial failures amongst couples during this process. Should you put everything on credit cards? Or create a separate checking account specifically for wedding expenses to avoid overspending? The infographic below highlights information from couples who have gone through this process, wedding planners, and event coordinators to give newly engaged couples a few tips on how to save on their wedding, avoid financial conflicts, and lastly and most importantly the benefits of stress free well planned wedding. Want even more advice? Check out more tips on our community page, and our wedding budget calculator.
Those redundant words, your wedding day is just one day, may very well be the truth. But society has given us Bridezillas, Say Yes to the Dress!, and all the jazz to keep us wanting that one big day, to be one very big day. Don’t get caught up in the fuss, and listen to the advice from people who have been through this process before.
Happy Planning!
-Juliette
Enjoy A Bride’s Night Out and Plan Your Wedding at the Same Time
|
|
|
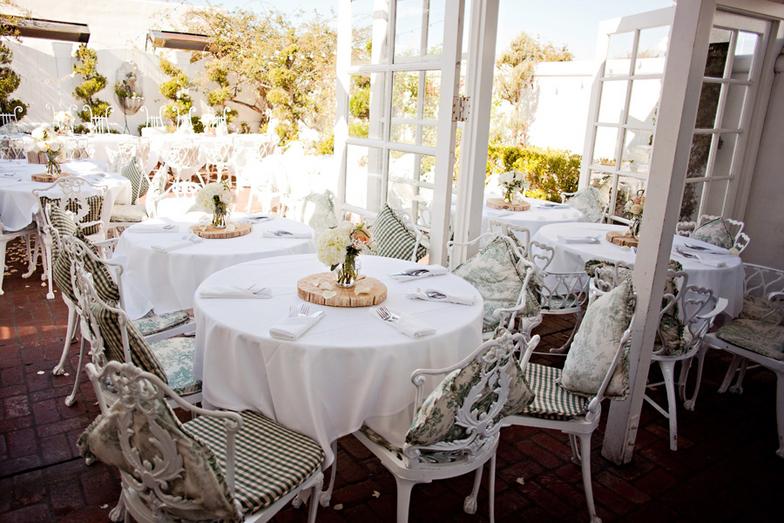
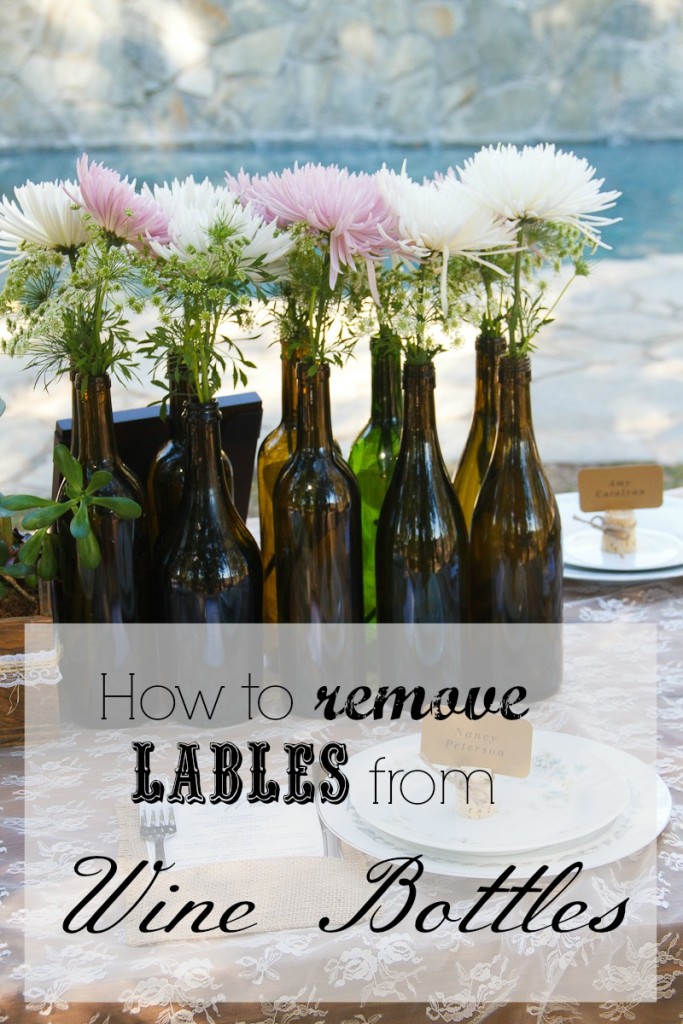
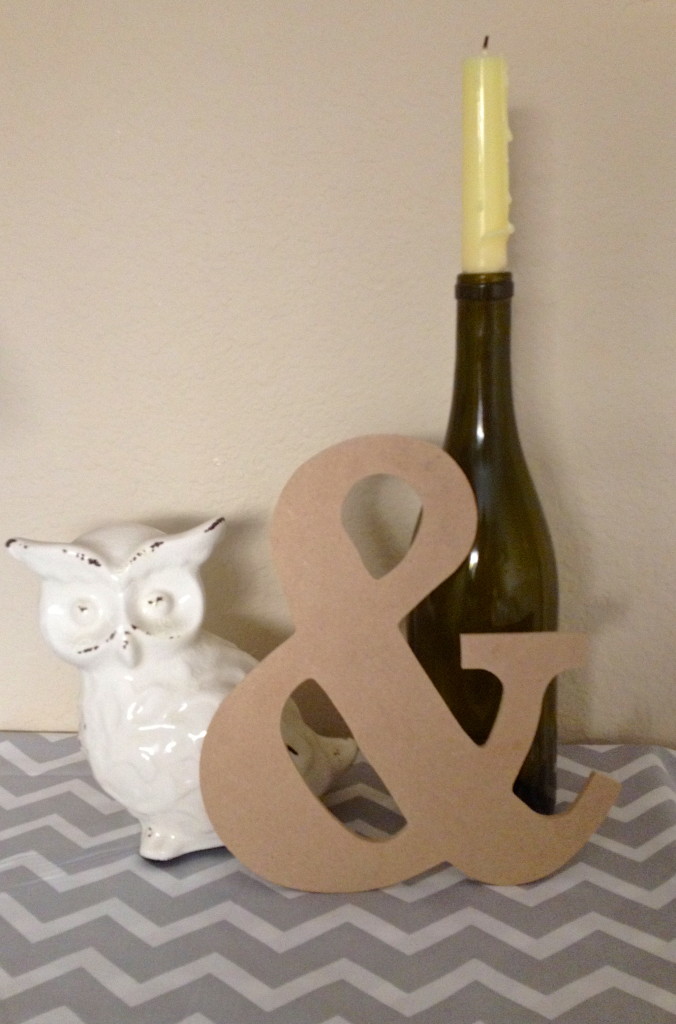
Wine bottles have to be one of the easiest and most affordable make shift vases to use for your wedding decor. They are perfect for centerpieces, table numbers, candlesticks, you name it! But, let’s face it, those beautiful labels are unwanted clutter once the bottles are empty. You know if you try to just peal it off slowly, the whole process will be ruined! So how do they come off so you can achieve such decorative versatility? Let me show you!
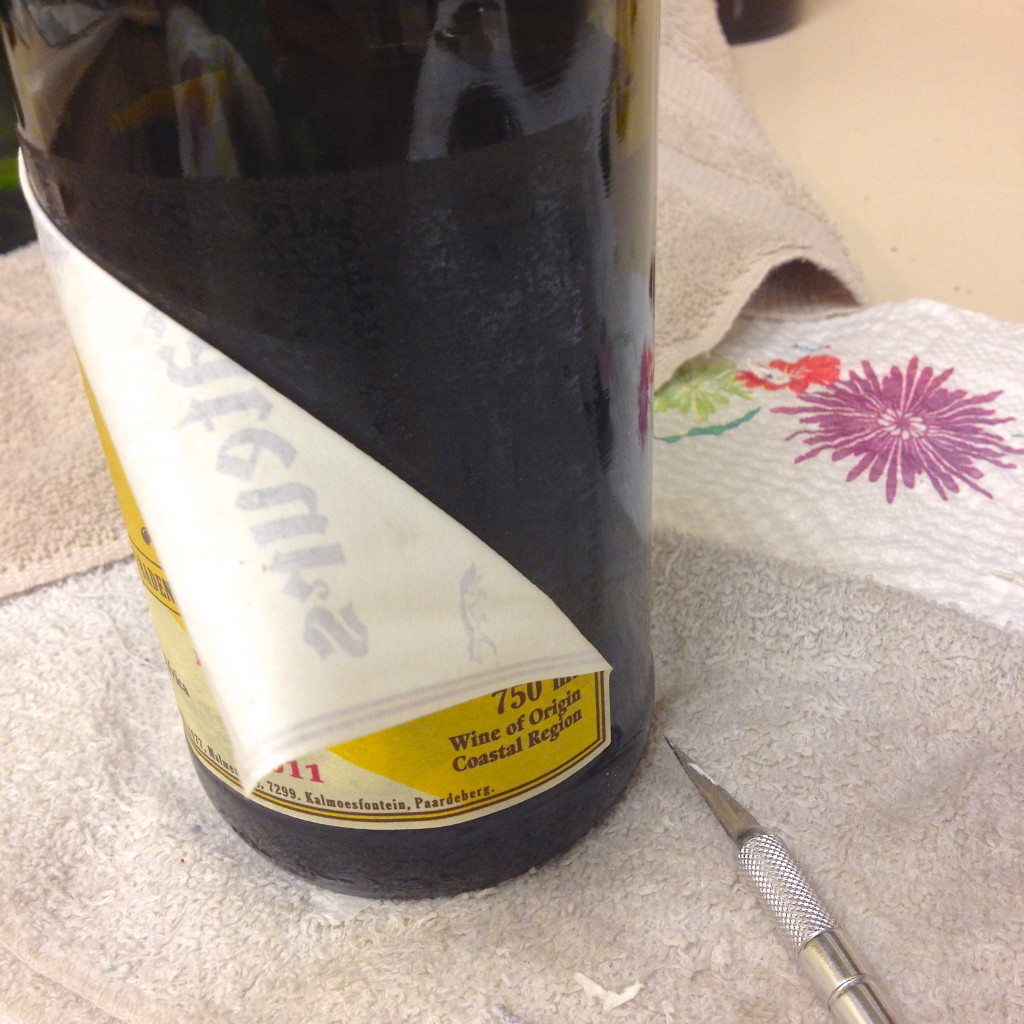
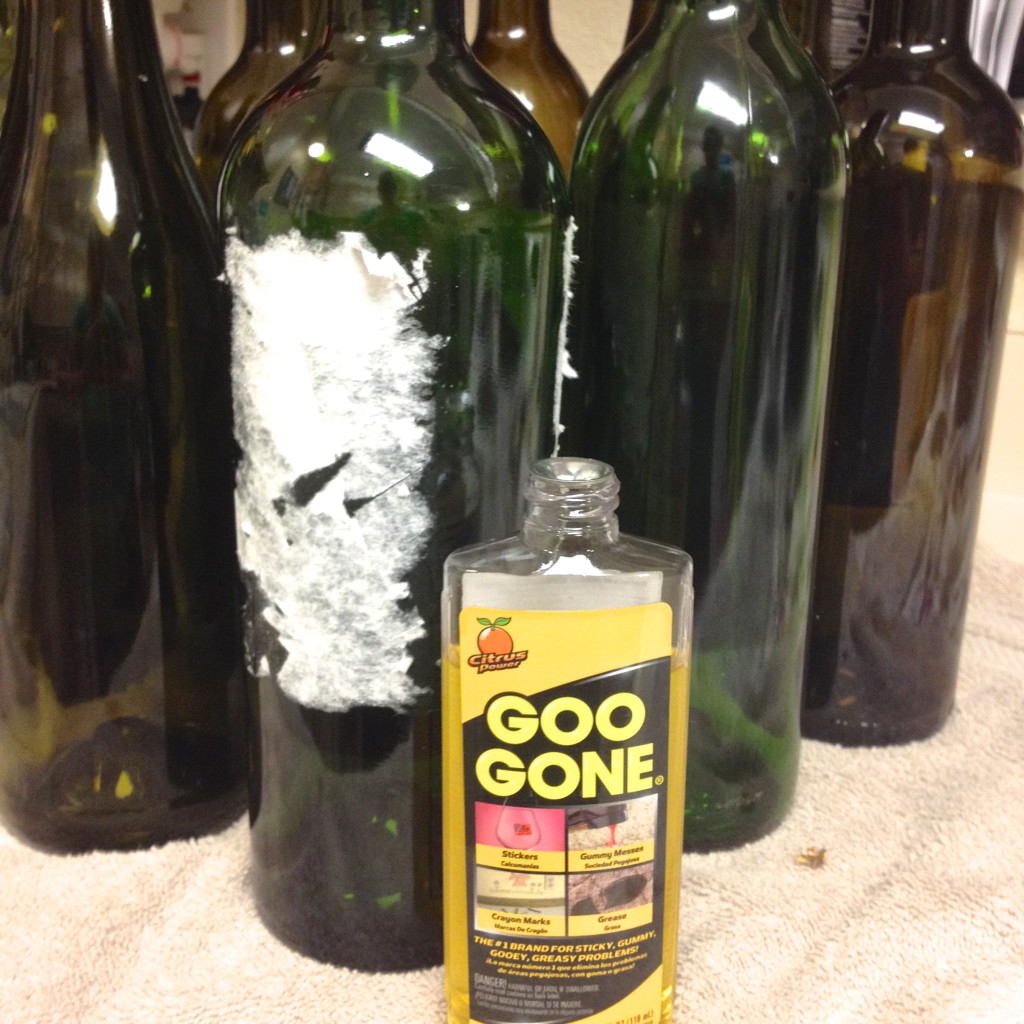
Like you I typed into google, “how to remove wine labels.” I tried baking them, Fail! I tried dipping them in hot water, Fail! I tried nail polish remover, Fail! I even tried pouring Goo Gone straight on the sticker and let it set 5 minutes. And guess what, another Fail! This is what I found that works the best! Keeping in mind, it is still work and not magic!
step 1
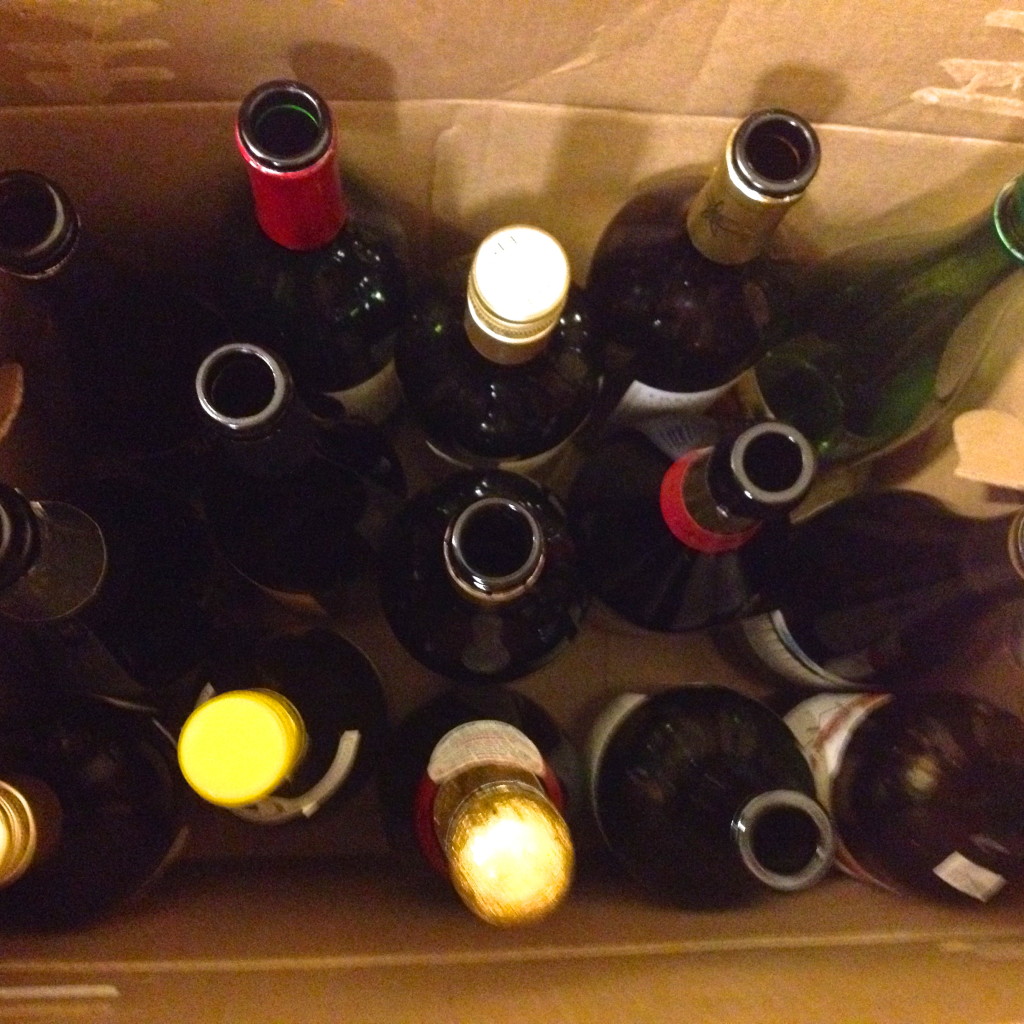
Collect more bottles than you think you will need. This method works the best, but it is not fool proof. I think it has to do with the type of glue or maybe the type of paper used, but some labels are not going to come off. Where to get free wine bottles. I suggest contacting a wine bar in your area. They are sure to have empties at the end of the evening. Ask them to set them aside for you instead of throwing them in the dumpster right away. Free and Green, can’t beat that!
step 2
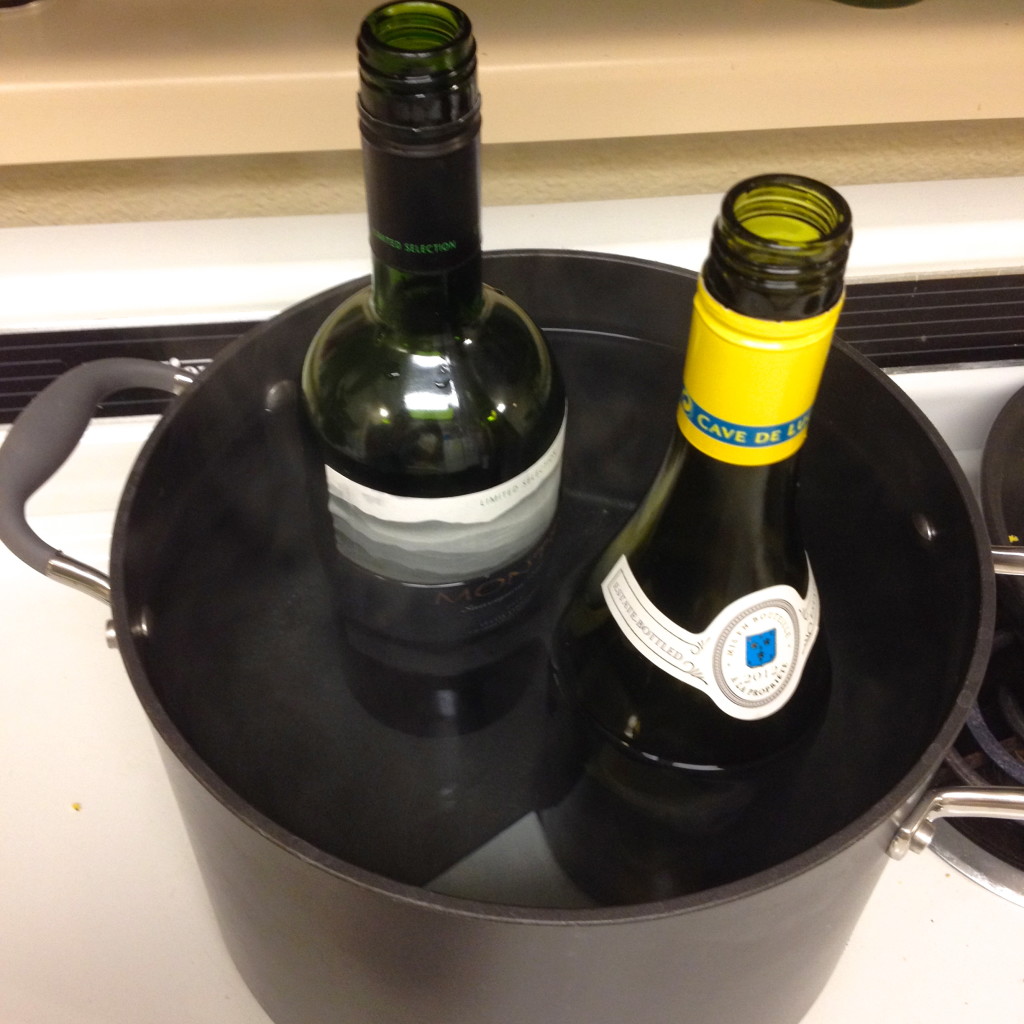
Get out your biggest pot and fill with water. Heat up the water, not boiling, but really hot! Fill the bottles with warm water from your sink, about 3/4 the way full. Place a couple bottles in the pot at once, to speed up the process. Let them simmer in the hot water and steam for 4-7 minutes. Pull one bottle out of the water (don’t forget a heat mitt), and immediately use a razor blade to peal a corner of the label. Once the corner lifts off easily with no sticky or paper residue, carefully peel the label back. Remember the bottle is hot! If you start to peal off the corner and it is not a clean peal from the start, stop trying to peel right away. Put the bottle back in the pot of water for another minute or two. This should help it to come off without leaving stuff on the bottle.
Step 3
Like I said, this is not fool proof! You will occasionally get some stickiness that wont come off. For this part, make sure you do have some Goo Gone handy. Set the bottle aside and let it cool for a while. Then pour some Goo Gone on a paper towel, and scrub as fast as you can to get the stickiness off.
Step 4
Inset a candle or flowers, wrap them in lace or yarn, paint them, draw on them. The options are endless! Enjoy!
Happy Planning!
-Juliette
The One Pound Wedding has been flooding the news in the wedding industry, so I thought I would share the Scotland couple’s story with my readers! This innovative couple was able to spend only one Scottish Pound ($1.56 US) on their entire wedding. What was it that cost them $1.56? Her dress!!! everything else was FREE!
Watch it: Shoestring budget wedding for $1.56
I also found an AWESOME article to go along with this wedding with some major ideas on ways to practically save on your wedding budget! Click Here to go to the actual post, or just read it below. Go to the bottom to find ways for You to cut the cost of your wedding!
The following article is taken from The Association of Bridal Consultants- San Diego Region
A wedding for $1.56
September 5th, 2013 | Author:
A couple from Scotland spent less on their wedding day than most people dole out for their morning coffee.
Artist Georgina Porteous, 36, and 39-year-old singer-songwriter Sid Innes budgeted just $1.56 for their big day. Yep, you read that right. The pair are dedicated to recycling and self-sufficiency, according to the U.K.’s Metro News, so they vowed to keep the day they exchanged vows super simple.
So how did the couple throw a great fête for 70 guests for such a paltry price? Porteous and Innes said their “I do’s” in a barn on their property behind their cottage. Porteous spent $1.56 on a vintage ivory wedding gown that she found on freecycle.org, a network of exchanges and gifting, while Innes wore an old tweed suit. The couple’s rings were handmade by Porteous using antlers she found in her garden. Her mother officiated the ceremony and a neighborhood reverend donated his services for free in order to make it all official.
For the reception, the venue was decorated with locally grown flowers, hay bales, and lanterns that community farmers contributed. The newlyweds asked their guests to bring food and drinks for a potluck picnic and Porteous’s aunt baked the cake. The wedding photographer who captured the festivities bartered his services in exchange for some film editing by Porteous. And the affair’s music came courtesy of the bride’s father, who played jazz on the saxophone.
“We thought we’d do [our wedding] differently and we started to become quite obsessed with it and ways to save money. It was exciting, fun and a challenge,” Innes said in a YouTube video. One fee the couple couldn’t get out of paying? The $109.23 charge for a marriage license. Hopefully, it was totally worth it.
While cost-cutting measures that Innes and Porteous took for their nuptials are certainly extreme, there are plenty of ways to have a budget-friendly wedding. Here are some tips and tricks for thrifty ways to tie the knot.
The dress — If you don’t have a a friend or family member who can lend you a dress (that she probably wore only once), there are a lot of great websites that sell once-worn wedding dresses. “When my clients come to me and are looking to keep costs down, I recommend that they resell their dresses,” Tracy Taylor Ward, owner and principal designer/planner of Tracy Taylor Ward Design, told Yahoo Shine. Sites like NearlyNewlywed.com and Tradesy make the process easy. And if you’re lucky, you might even make a profit if you sell yours. Sample sales, consignment shops, eBay and e-commerce site Etsy, which focuses on handmade and vintage items, are great options as well.
The rings — Not everyone is as deft at ring-making as Porteous is, but Etsy has plenty of artisans with similar skills who sell affordable alternatives to typical gold and silver wedding bands. Titanium and gold-plated metals look like the real thing at just a fraction of the price.
Flowers — In the United States, $1,997 was the average amount spent on flowers and decor per wedding in 2012. Ward suggested working with larger flowers. “Hydrangeas are a good-value flower because they’re always in season and you don’t need as much to fill out an arrangement. You need more roses to fill out the same amount of space,” she said.
Venue — Being able to throw a wedding at your own place or at the home of a friend or family member is the cheapest route, but for those outsourcing to other locations, there are tricks for trimming expenses. Most venues’ rates vary by season, so if you can get a place during the off-season, its prices will be either lower than at peak times or negotiable because it’s not going to have as much business during that period. Avoid holidays because prices tend to inflate. Additionally, tying the knot on a Friday or a Sunday is slightly less expensive than on a Saturday.
Food — Pass on the raw bar and filet mignon and skip food stations, added Ward: instead opt for passed hors d’oeuvres and a sit-down dinner.
The wedding cake — Wedding cakes cost, on average, $560, but you certainly don’t have to spend that much. “Cakes are typically priced per slice, so try to find a bakery in your budget,” suggested Ward. An alternative cost-cutting measure is to ask the bakery for a smaller display cake and have extra sheet cakes in the kitchen for when it runs out.
There is always a way to save some cash on your wedding! The best and most memorable weddings are the ones that are filled with love!
Hope you enjoyed! Happy Planning!
-Juliette
Pinterest is the Greatest wedding planning tool to come along since the first wedding magazine was published! It might even be better! It is a great place to organize your thoughts visually, discover new and creative ways to do just about anything, and to share your ideas with others. In this post, I’d like to discuss 5 smart ways that you can use Pinterest to be the ultimate modern bride.
Use it with your Wedding Planner
First of all, if your wedding planner is not on Pinterest, you should probably find a new one, cause there is probably something seriously wrong with them! Pinterest is just as revolutionary for Wedding Planners as it is for brides. Creating a shared board with your planner can help you both get on the same page. Being inspired together allows great things to happen! Inspiration boards have been created by planners for their clients for decades. But Pinterest puts a new spin on inspiration boards, since both parties can post on it. To share a board with your planner, simply add your planners email address or name to the board settings when you create it. When you post a wedding element that you would like implemented in your own wedding, your planner can instantly see it and begin working on the details to make it happen for you!
Use it with your Florist
Share a board or two with your florist. This will allow you to keep your thoughts organized (a separate board for centerpieces and bouquet ideas). Being able to share visual ideas with your florist will make sure that your flowers are exactly as you envision them. I have seen it happen too many times where the bride will receive her flowers on the morning of her wedding only to realize that the “Nosegays” bouquet that their florist had been talking about, was not the “Hand-Tied” bouquet style that the bride was envisioning. Also, colors of flowers come in many different shades, so telling your florist you want peach colored roses to match the bridesmaids dresses, could result in a orange shade, if the florist does not have an exact visual to go off of. A shared board between your florist, your wedding planner, and yourself, can make sure that no exclusive industry vocabulary gets in your way of achieving your vision!
Use it with your Photographer
Any good wedding photographer will ask you for a list of must have shots that you want to have taken on your wedding day. This ensures that on the day of, when everything is going a mile a minute, your photographer can look at the list and know that you absolutely want a photo of you and your big sister back to back. Or a portrait photo of you and your groom 3 feet away from each other holding hands. It is much easier to post inspirational photos to Pinterest as you see them than to remember them 2 weeks before your big day when you are asked to have the list ready. It is also easier to show your photographer a visual example of the style of photographs that you want ,then to try to describe it in words through an email.
If you are like most brides, many or at least some of your closest friends don’t live near you. I know for me, 2 of my 4 bridesmaids lived in Utah. The other 2 lived here in San Diego, but they had small kiddos at home. This made getting together for dress shopping rather difficult. And I wanted their input, I didn’t want to be one of those brides that just said here’s your ugly dress, now fork over some cash! Now Pinterest can allow for everyone to have some input. You can post dress options you like for them, they can post options they like, and everyone feels like they at least have a part in the process. But remember, you are the deciding voice. It is your wedding, not theirs!
Use it for you!
Keeping all of your ideas visually in separate boards will help you to keep things organized! Organization and Lack of Procrastination are the secret keys to successfully planning a wedding without turning into a…, you know! Use it from day one, to organize your thoughts and inspirations. Your boards will evolve over time throughout your engagement. Turning from just inspirations, into how to tutorials that you know you can’t to forget, into a dialog between you and your vendors. It is also a great way for your vendors to connect before your big day to collaborate on ideas that will transform your wedding into the event that everyone else wants to emulate! An awesome wedding doesn’t need to cost a ton of money, it just takes creativity and work. If it seems like too much work, hire a wedding planner to help with some of the details or the coordination of it all! One thing is for sure though, use Pinterest! And be smart about it! It will help, I Promise!
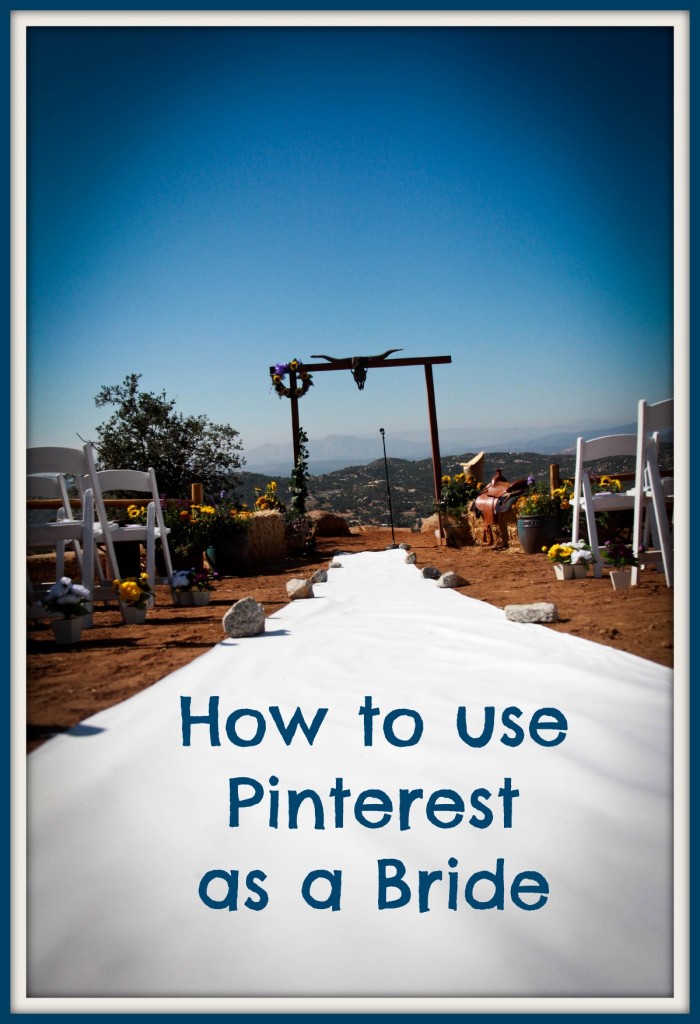
San Diego Wedding Planner describes how to be smart about using Pinterest in all aspects of your wedding!
Happy Planning!
-Juliette
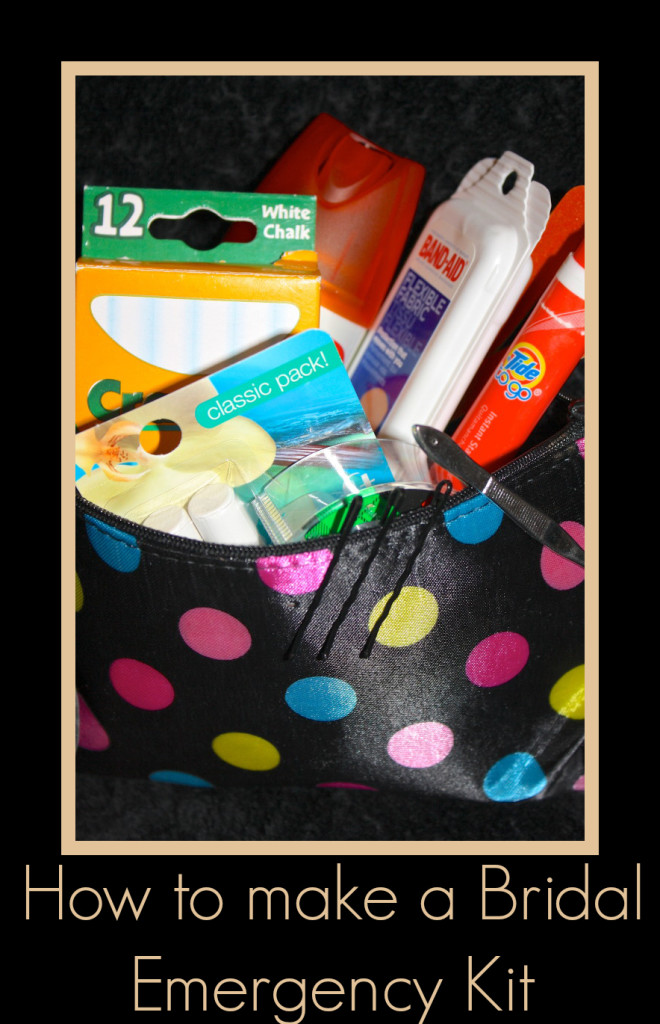
How to Create your Bridal Emergency Kit
On the day of your wedding, there will always be issues that will need dealing with. And even if you do hire a Day of Coordinator to handle last minute situations, they are not able to be with the bride every minute of that day. A wedding planners job on the Big Day is not limited to being the guardian angel of the bridal party, there is set up and vendor coordination that will be taking place in various different locations. This is why I create a Bridal Emergency Kit for each of my brides. I pack it full of goodies for the bride for any emergency situation that may arise while I am off doing the other things that planners do. I am happy to share this information with everyone! Just know that if I am your planner, you will not need to worry about scrambling at the last minute to pack this extra bag. I got your back!
First Step: Find a bag – I prefer a make up clutch, it is compact for easy travel, but not something that someone is likely to dismiss or leave behind.
Second Step: fill with necessities that people do not usually carry with them.
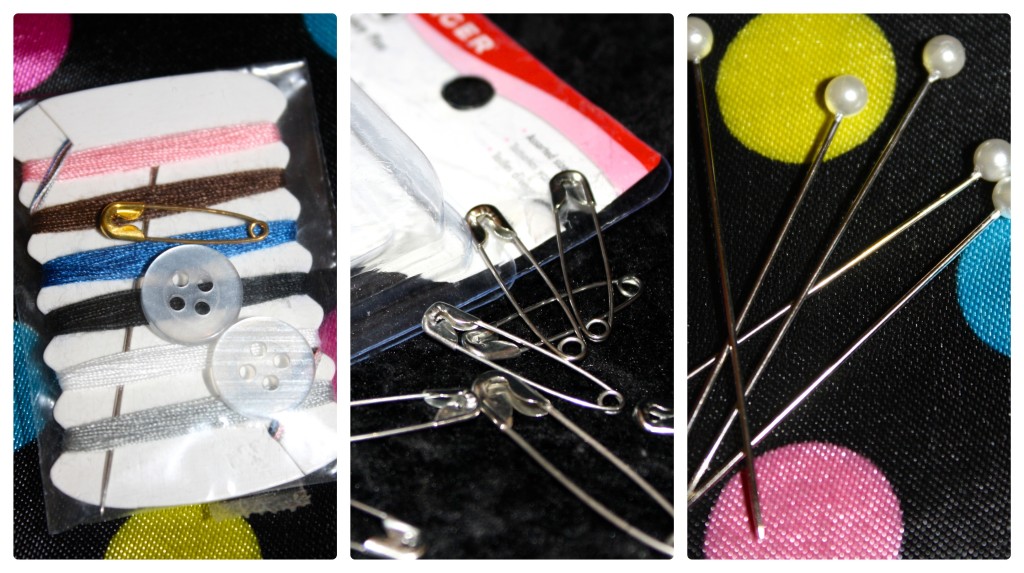
In case of a Wardrobe Malfunction
- A mini sewing kit, or at least a needle and white thread
- safety pins, in multiple sizes
- Sewing Pins (can also be used as floral pins if a bouquet starts to unravel or a boutonniere breaks)
- 2 sided tape – or fashion tape
In case of a Spill:
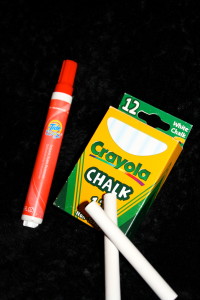
- Tide ToGo is Awesome for Wedding Dresses and Veils! Get the Pen, it will save your dress.
- A stick of White Chalk. (Great for getting out red wine, and for temporarily covering up a noticeable stain on anything that is white!)
For Beauty and Skin:
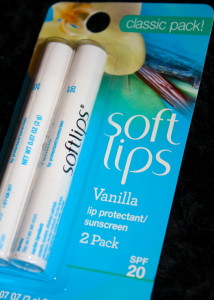
- Make sure to pack your regular, non-tinted chap stick to apply throughout the day so your lips don’t dry out, you’ll be smiling a lot!
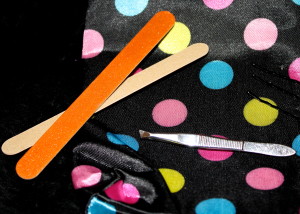
- A file or an emory board – there is nothing worse than a chipped nail or a hangnail snagging on your veil!
- A Pair of Tweezers
- Lots of Bobby Pins
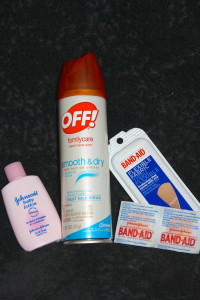
- Band-Aids
- Bug Repellant – if any festivities are happening outdoors, especially at Sunset/Dusk
- Lotion (baby lotion is great. It will leave your skin moisturized without interfering with your perfume.)
- Q-tips (great for touching up under the eyes if you get a little teary eyed)
- Wisps- the one use toothbrushes from Colgate. (Use after dinner, but before toasts!)
Other good Ideas to include:
- your lip color – if it is not yours, ask your make up artist to provide you with some so you can re-apply
- regular tape – (for taping things, yes. Also, use it as a lint remover for those black tuxes and bridesmaids dresses!)
- Clear nail polish – if anyone is wearing stockings
- Advil and Tylenol
- Benadryl
- Tums
- A piece of SEALED dark chocolate – coco releases endorphins, good for when you get anxious!
Third Step:
I always give this to the bride either the night before, or the morning of, when she wakes up. I give it to the bride, but I make sure that the Maid of Honor knows that she is in charge of it! The Maid of Honor or the Mother of the Bride, who ever will be with the bride more, should be in charge of knowing where this bag is at all times of the day. The bride has enough to worry about! But if something ever happens, everyone knows that the solution is close by!
I hope this is helpful.
Happy Planning,
-Juliette
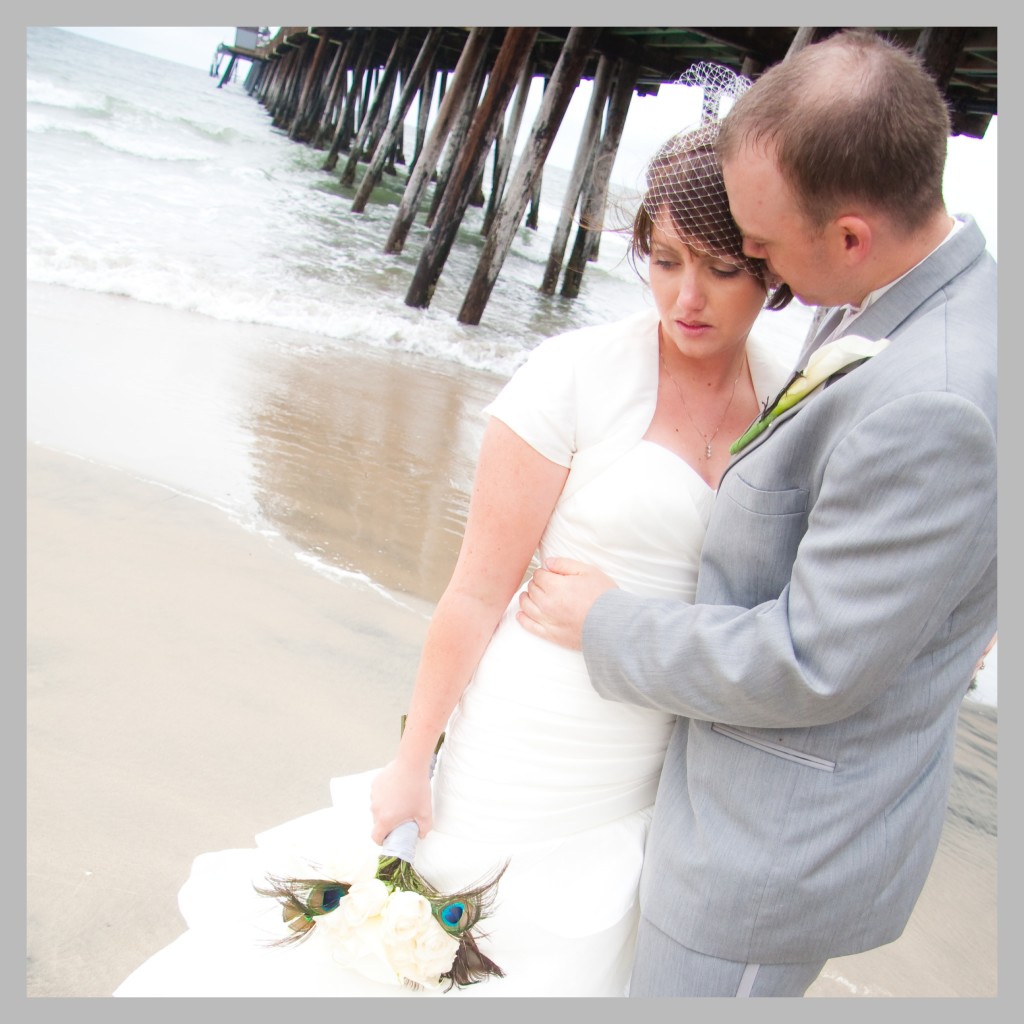
This is the face of the unfortunate realization that your outdoor garden party that you have been dreaming of will now be indoors due to rain… Trust me, you don’t want this feeling to be the one you remember about your wedding day! Pledge to Stay Positive
I recently found this article on TheKnot.com. I felt it would be helpful to my readers and clients! Some of these I wish I had made to myself when I got married! Enjoy

1. I will not do anything… before the guest list.
It’s not the most fun part of planning (and we’ll be honest, it’s one of the most likely to lead to a fight or two or twelve), but you shouldn’t make any wed-day decisions before you have your wedding guest list somewhat firmly in place. Why, you ask? Well, do you want to have a nonrefundable deposit down on that cozy restaurant room that fits 75 when your mother-in-law’s additions bump your list up over 200? Exactly. Once everyone’s in agreement, then you can move forward. That said, this means that one of the parts of your wedding you can plan immediately (or at least talk over with your fiance) is what kind of atmosphere you’d like for your wedding. Do you want an intimate, close friends and family-only affair, or do you want to throw the event of the season for 300-plus people? Later, when you’re in the guest-list trenches, this bit of planning will help back up your gut instinct about whether to say yes (or no) to guest-list additions.

2. I will not end up on YouTube for the wrong reason.
Adorable processional dance? Totally acceptable path to stardom. Bridezilla freak-out on the florist who delivers hyacinths instead of hydrangeas? Not so much. On your wedding day, all eyes (and camera phones) will be on you, meaning your every move is subject to instant Internet infamy. Mind your manners and keep your panic attacks quiet to avoid the wrong kind of publicity. But that video of your dad doing the worm during your father-daughter dance? Internet gold.

3. I will not realize that grape isn’t my color — with two months to go.
You should feel free to rethink, redo, and revamp any element of your wedding that you want — unless you’ve accepted a ring from it (just kidding). This doesn’t have to mean yet another huge investment or reneging on a bunch of contracts — you’ll be surprised how easy it is to make simple additions or subtractions and change your whole style. Already ordered those pastel bridesmaid dresses? Think about adding a bold sash or accessorizing with chandelier earrings to liven them up a bit.
Unsure about the color scheme you chose? Pay an extra visit to your florist and work out changes to your bouquets and centerpieces — adding new blooms in all of your arrangements will introduce a new color throughout the room. Same thing if you’ve already ordered the linens — spice them up with bright table runners or overlays. If you decide you really can’t live with it, chances are you can go back on your first choice — just remember that it will have a cost. A good rule of thumb is that if you’ve already signed a contract or seen a proof, you will have to pay extra for any changes or additions you make. But if it’s still relatively early in your planning process, don’t be afraid to make the change. Remember, you’re getting married to your husband, not your centerpieces.

4. I will not use my Facebook status as a personal wedding journal.
Okay, we know you’re excited about planning your wedding, but that girl from your college history class couldn’t care less that you finally booked a reception band (not to mention understand that passive-aggressive comment about the best man). We’re not saying the everyday details aren’t interesting — we’d just recommend a different platform. Instead of overloading your Twitter feed with wedding details, create a wedding-planning blog for those who want to keep tabs on the ups and downs.

5. I will trust my vendors.
Before you start micromanaging every decision your wedding planner makes, remember one thing: You’re paying them for a reason. Consider their experience and expertise an opportunity for you to relax. They want you to love the result (after all, your recommendation hinges on it!), so they’re going to strive to please. And wouldn’t you rather help someone who trusts your abilities rather than second-guesses everything you do? There’s no harm in giving a good amount of direction at the outset, but asking for daily progress reports is overkill.

6. I will not feel guilty about having an adults-only wedding.
Whether you’re worried about babies crying during the ceremony or just can’t afford to seat entire families for dinner, it’s your decision whether or not you want to invite the little ones. As long as you’re consistent about this rule (no exceptions for your closest friends!) and upfront in your invitations and on your wedding website, you shouldn’t feel bad if you have to tactfully put the kibosh on your second cousin who tries to RSVP for her toddler triplets.

7. I will attempt (at least a little) DIY.
Even the least crafty bride can undoubtedly personalize a few details of her wedding, and the bragging rights — not to mention the savings — will be well worth the effort. Try your hand at creating your favors or ceremony programs. If those tasks seem to daunting, keep it simple: Put your excellent penmanship to use and write out the escort cards, or make your own welcome bags for out-of-town guests with maps of the area and a few local goodies.

8. I will acknowledge that some people might not want to be the “guest book attendant”.
You can’t put all your friends in the wedding party, but there are usually a few people left over that you still want to honor…so you create “special” jobs, like cake servers and guest book attendants. Our advice: Unless your guest book is especially complicated, an attendant probably isn’t necessary. Honorary jobs are still jobs, and chances are, they’ll have a much better time if you just let them enjoy the party rather than having them stand guard by the guest book.

9. I will actually eat the dinner at my reception. (That includes cake!)
Make sure you take time with your new husband to really enjoy the party you worked so hard to plan. If you spend your whole wedding day directing the photographer and making sure the bridal party makes their entrance on cue, you’ll be missing out on a lot of amazing memories. Even if you don’t hire a day-of wedding coordinator, put a trusted relative or bridesmaid in charge of making sure things go smoothly on the big day.

10. I will look on the bright side — no matter what.
Did your outdoor ceremony get rained out? Instead of panicking, throw on some cute rain boots, grab a big umbrella, and start posing for some adorable rainy-day photographs. The DJ played the wrong song for your bridal party’s entrance? Chances are no one else noticed. After months of obsessing over the details, it’s easy to get lost in them. Loosen up, keep in mind what’s important (you’re getting married!), and we promise that, even if the caterer serves twice-baked potatoes instead of mashed, it’ll all be great in the end.
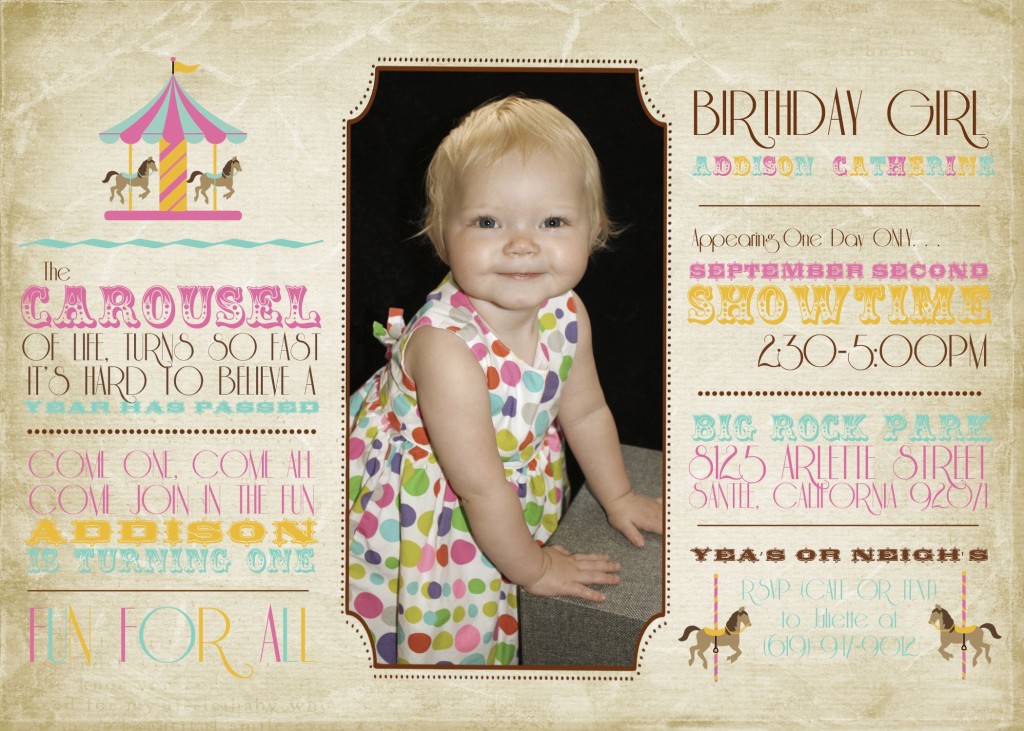
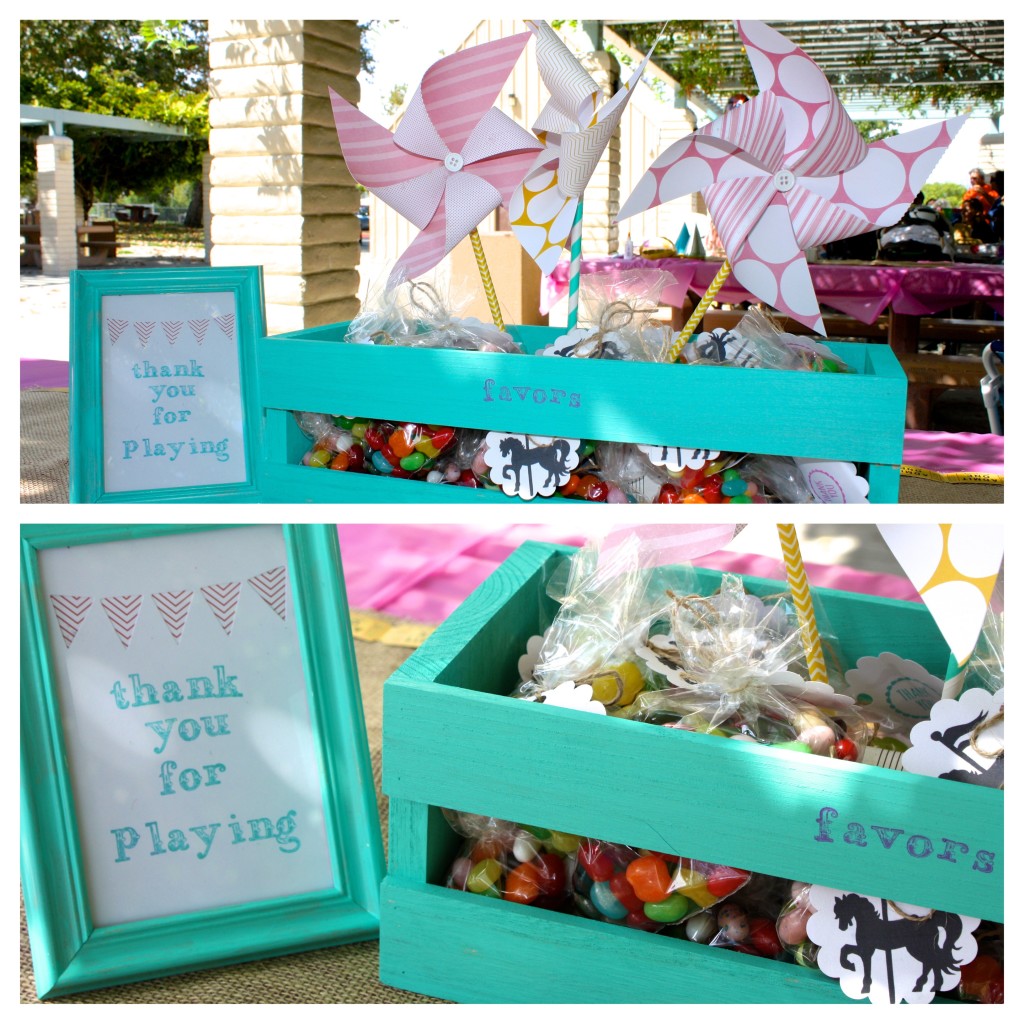
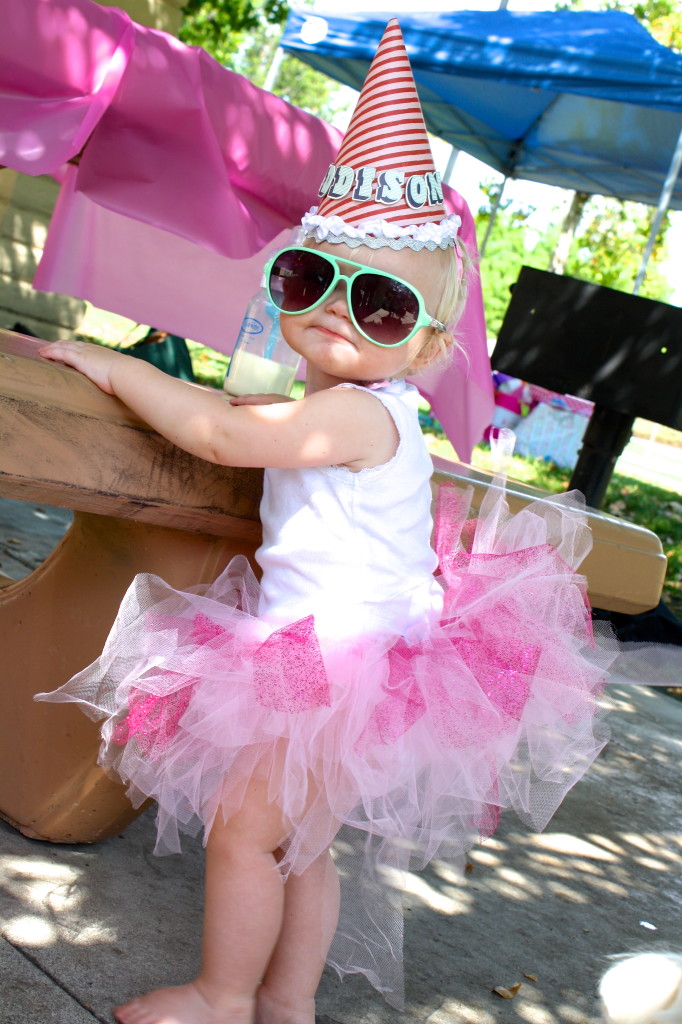
I’ve been planning this party in my head, and on Pinterest, since she was 3 weeks old! I can’t believe that it has come and gone so quickly, it just doesn’t seem like she is a whole year old! And for those of you around the Southern California area who keep saying that you’ve never felt it so hot as the last couple weeks or so. Well, you have! Last year, this same time, I remember precisely how hot it was, and if anything this is cooler! But Monday’s weather, though still hot, decided to give me a little break and be a breezy 87 degrees rather than a stale 96. For which I am forever grateful! I am also grateful for the family members and friends who are always so willing to help with their time and talents! Thank you to you all, you know who you are. And my amazing husband, who was able to get her down for a 3 Hour Nap before the shindig, I can’t even do that when the stars are alined and I’ve found a lucky four leaf clover!
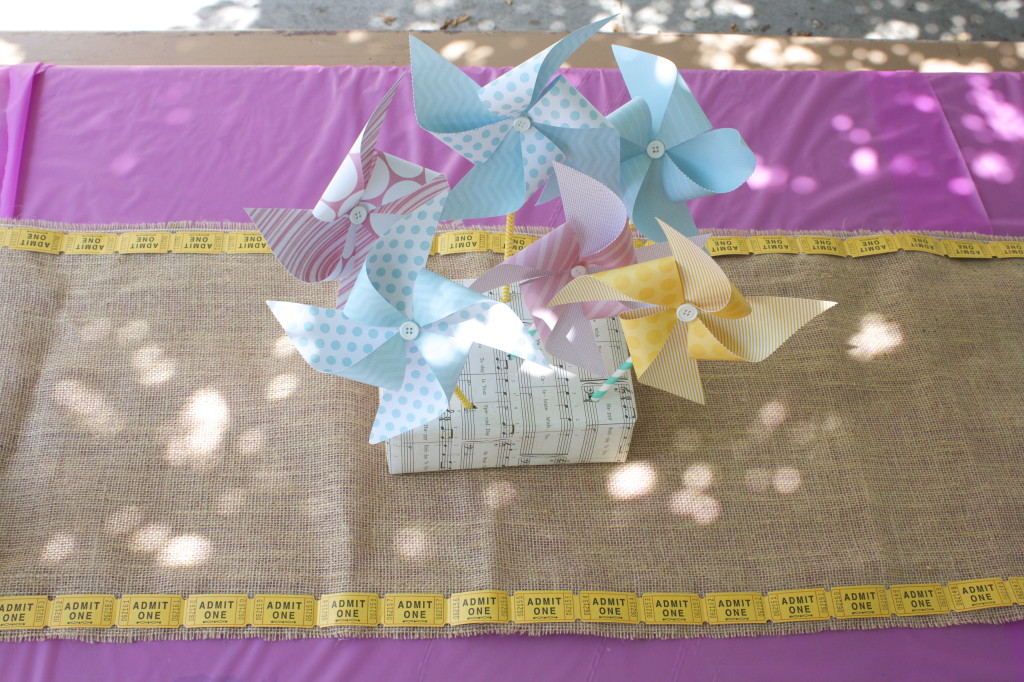
The theme came pretty easy. My mom, when I was a kid, used to make and hand paint carousel horses. So when I was a child, that was the obsession in our household. I even had one of my own, standing in my bedroom on a pedestal with a big brass pole. After a trip to the carousel in Balboa Park in San Diego, I quickly learned that my daughter shares the love of carousels! So, naturally, I hit the ground running, creating the party of my (I mean her) dreams.
- Food for first birthday party
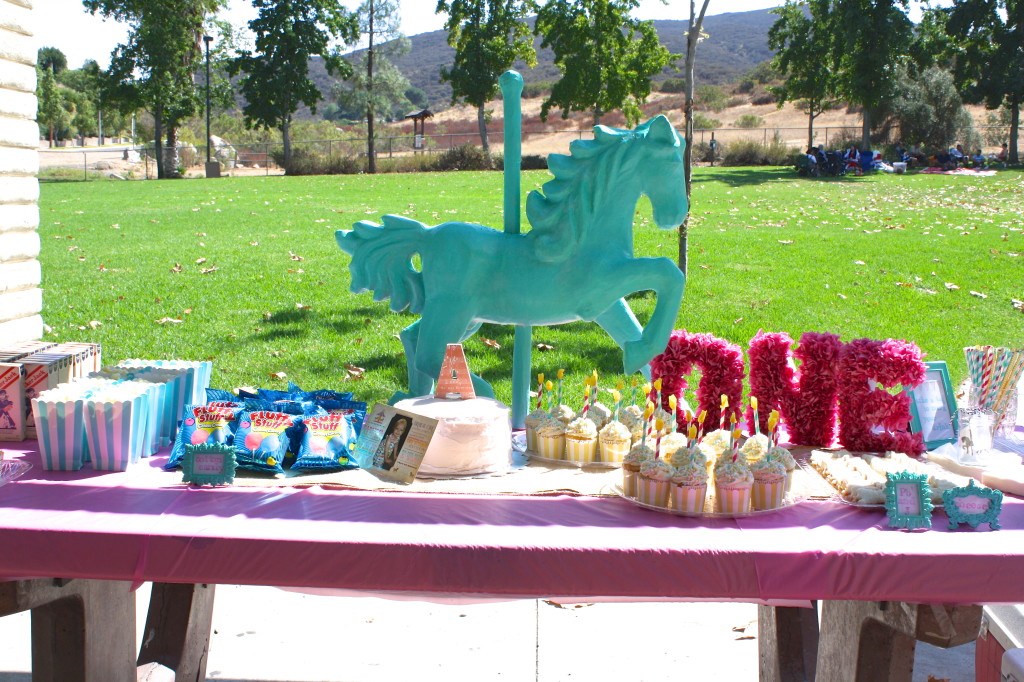
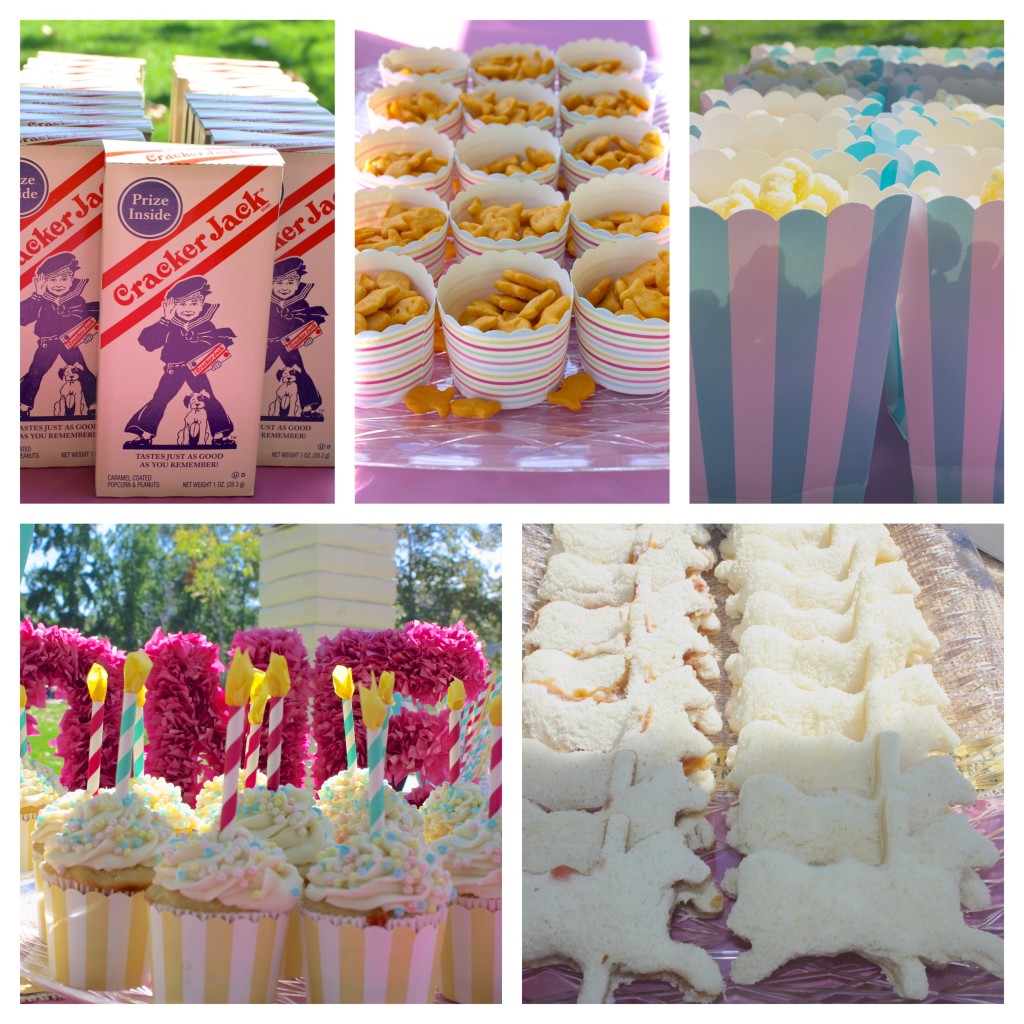
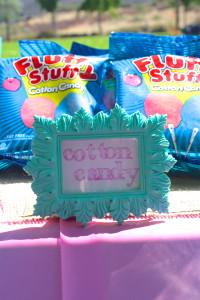
The food was fun and kid friendly! Goldfish in cups the size that tiny hands could easily grip! Pb&J and cheese sandwiches with no crust! I got a cookie cutter in the shape of a carousel horse on Amazon! No one can say no to a horse shaped sandwich. I put popcorn bags filled with the toddler’s version of popcorn – Pirate booty! There was also cotton candy, my personal favorite. And Cracker Jacks, prizes included!
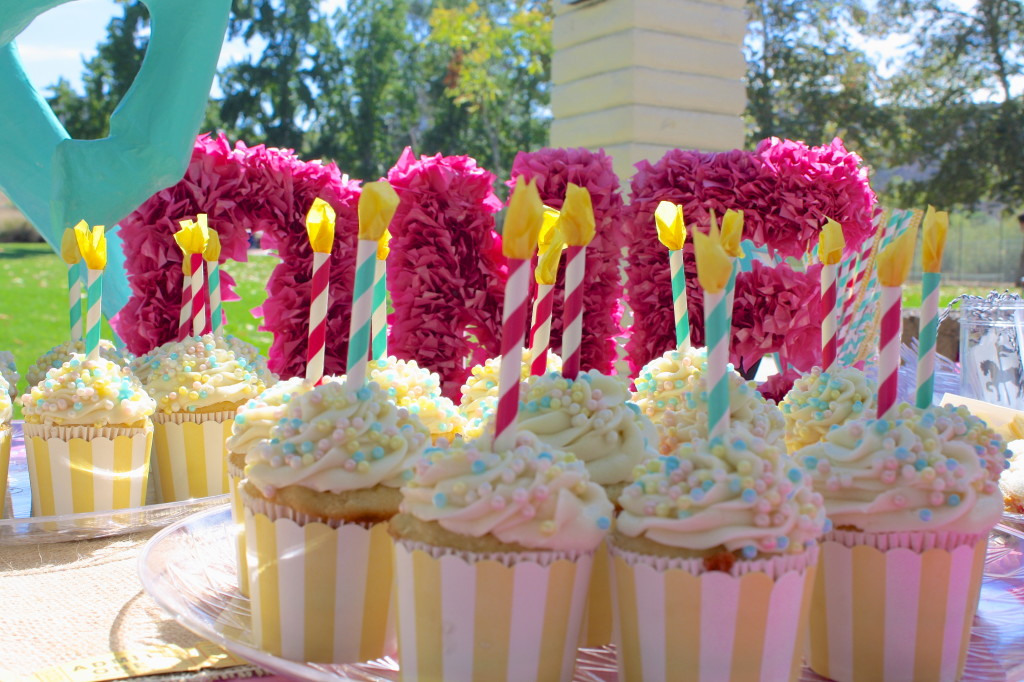
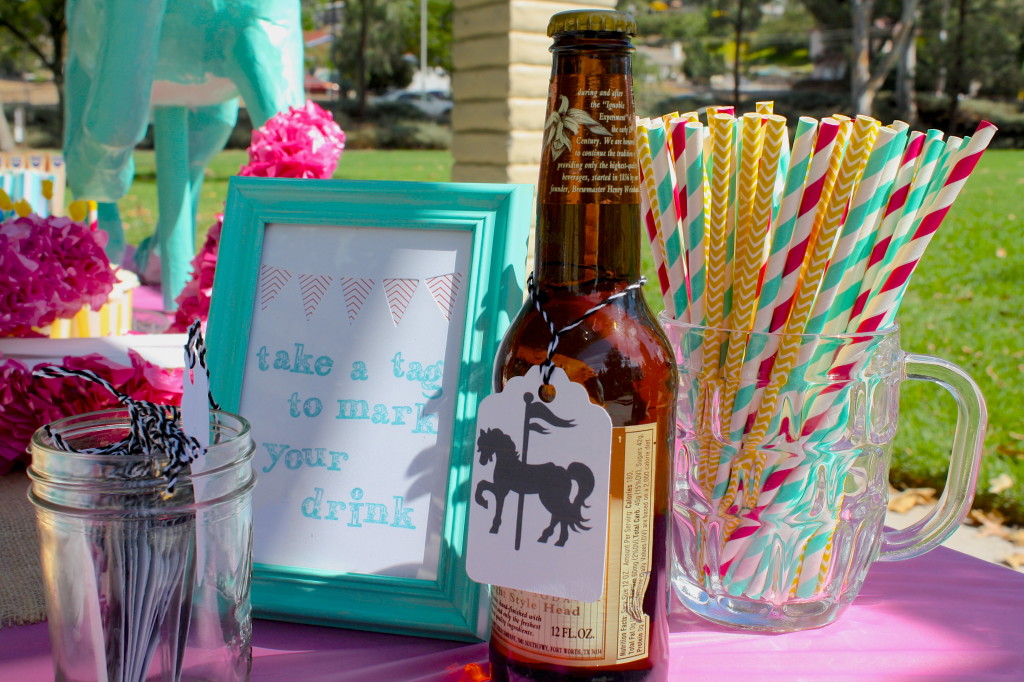
The real food was catered by Chick-fil-A. Best chicken nuggets in the World! The cupcakes held fake candles made out of a paper straw cut in half and a little bit of yellow tissue paper stuffed into the end! So easy, and perfect for a birthday! For drinks, we served old fashioned sodas with fun paper straws!
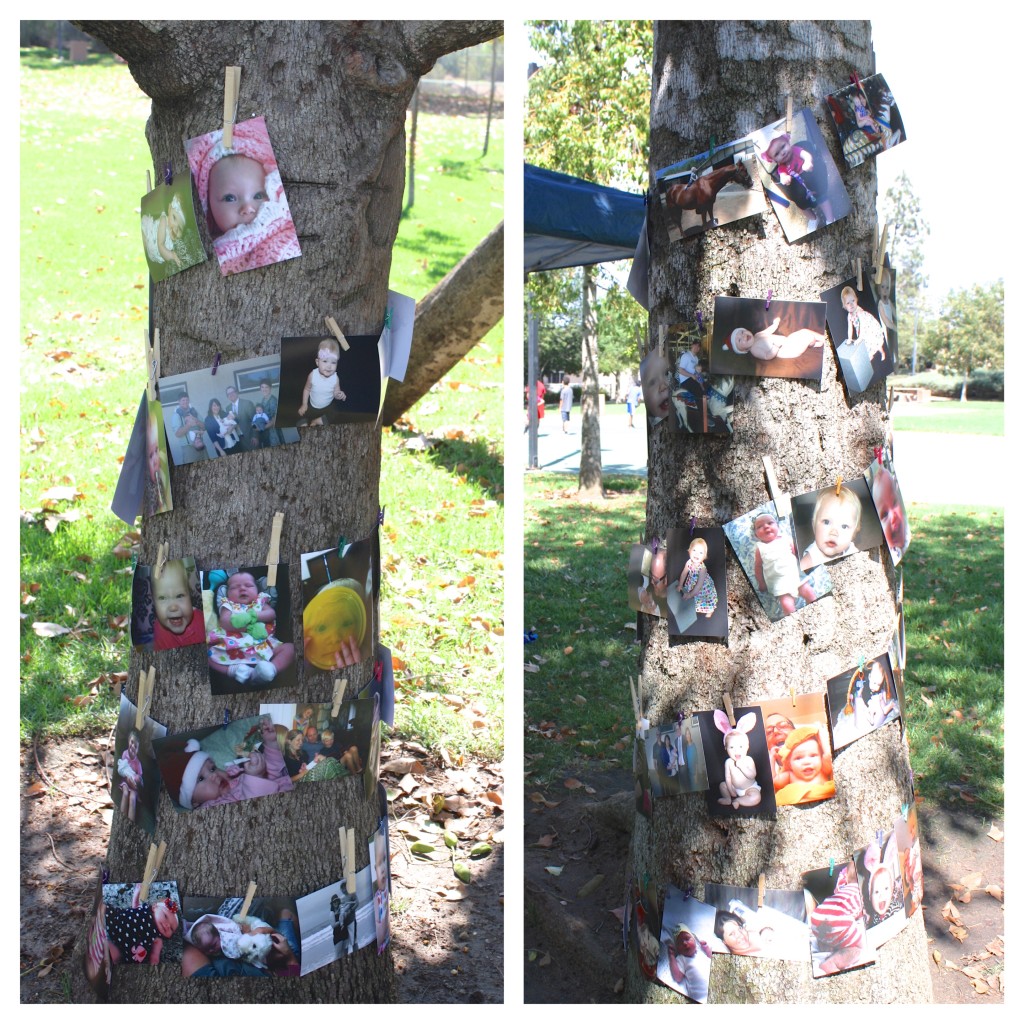
Photos of the birthday girl’s first year displayed on trees next to the party area
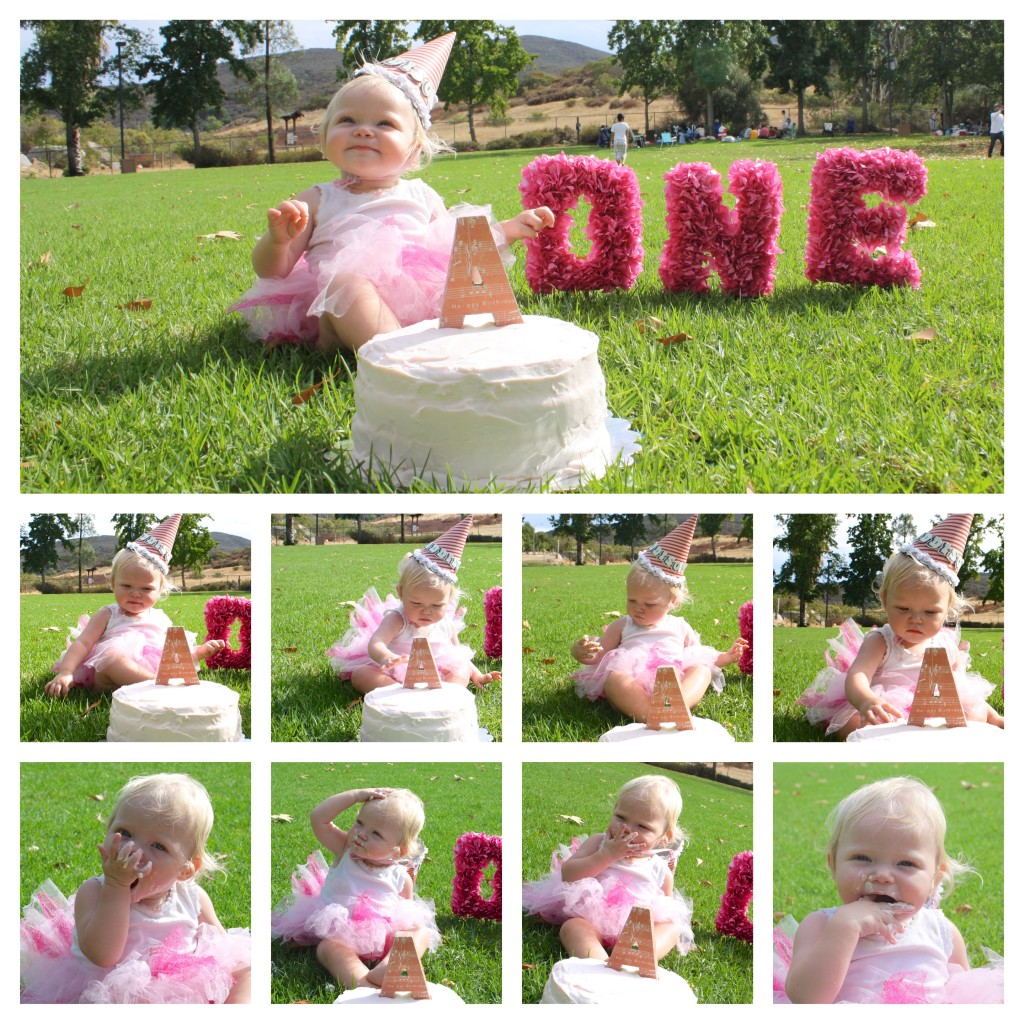
And it wouldn’t be a first birthday without a CAKE SMASH!
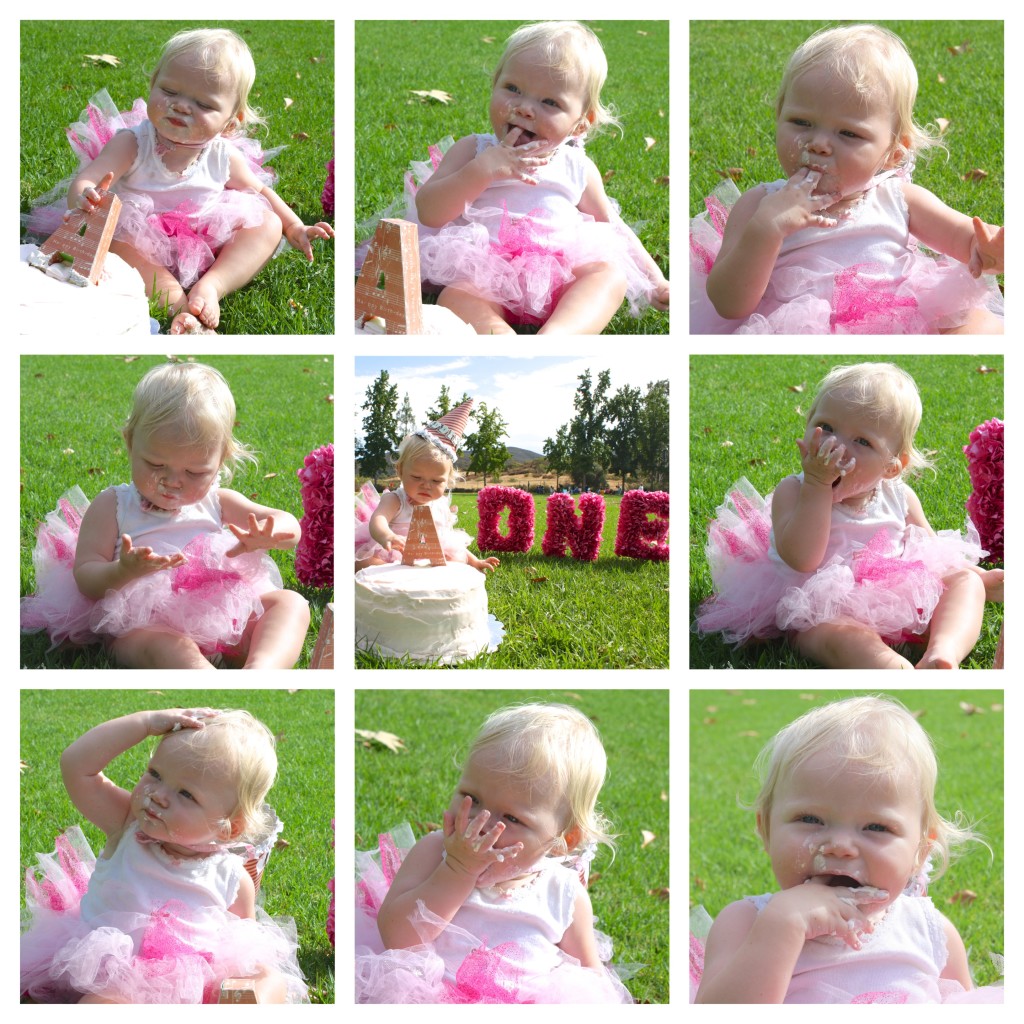
Cake smash for first birthday
She’s My Favorite
Invitations can be tricky things. They are the first impression your guest has of your event. The style of them alone tells your guests what kind of wedding it will be. Will it be a formal affair, if so, the invitation should be formal, double envelope and all. Will it be a casual and fun evening, make sure your invitation reflects this personality.
There is so much to think about, and the #1 thing that couples think about first is Price! Think about postage (x2 for the Return envelope and the whole invitation. Remember that the more weight of the invitation, the more postage it will take to send it.) You can eliminate the cost of the return postage by setting up an email for people to send their RSVPs, plus 1 information, and food choices.Wedding Websites are also a great way to open the lines of communication between you and your guests. Check out TheKnot.com and WeddingWire.com for free and super easy to use websites! But remember, this brings down your points for formality and tradition, if that is what you are going for! Also, if you do set up an tech savvy RSVP, be sure to include a phone number for the old school Great Aunt Betty who may not have internet access to respond with.
Timing is also important. As soon as you know the Where and When, start looking for invitations! Order them as soon as possible. Allow extra time for them to be printed, made, and shipped to you. Invitations should be sent no later than 6 weeks before the event date. An extra 2-3 weeks (8-9 weeks total) should be added if the event is happening on a Holiday weekend, during the Summer, or if guests will be traveling extensively to get there.
Let’s talk Guest List. If a strict head count is needed, sort your guest list into 2 categorizes, an “A” list and a “B” list. The A list should be the people you cannot leave out! Family and close friends are in this category. The A list invitations should be sent out first, with a earlier than absolutely necessary RSVP date. Once the majority of the A list RSVP’s are in, you can start thinking about the B list, your back ups! The people that would love to be there, but maybe you don’t know them as well as you’d like to (co-workers, childhood friends you haven’t seen in years except for on Facebook, your mother’s second cousin once removed, etc.). If you have some “With Regrets” sent back from your A list, you can then fill those seats with people from your B list. Think of it like this, if you invite everyone you know and everyone who wants to come all at once, but your venue only has room for 150 people tops, you might be up a creek without a paddle if 200 of those people decide they will make it. Just what ever you do, DO NOT tell anyone what list they are on! A polite way to deflect a “where’s my invitation?” confrontation is to just little white lie it and say that you haven’t gotten the invites out yet, or that there was a mix up with the typographer and your working on getting the second half of them out soon.
If you and your groom are tight on time, just go online. Online shopping is GREAT for the busy working couple. You can work on your invites at midnight, and no one can say that they are closed! A good place to go is Inviting Invites or Paper Source Stationary. However, if you do do this, make sure to request a proof or samples before actually ordering the invites. There are many types of printing and different kinds of paper to choose from! So if you don’t already know your Letterpress from your Offset printing, you should probably make an appointment to have a consultation with a stationary company. May I suggest Seaside Papery in Coronado. They can explain the different styles to you and show you examples on site.
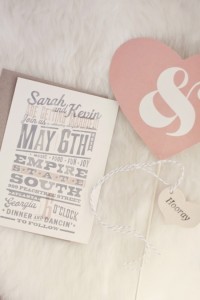
The Following excerpt is from a very helpful email I received from InvitingInvites.com. I hope it will be helpful to you as well!
“In general
- Make sure you do your research. Before you schedule your invitation appointment or begin your purchase online, look through bridal magazines and online invitation stores to get a feel of what’s trendy at the moment. Do you like classic, modern, pockets, ribbon, bright colors, die cut shapes letterpress? As you start looking you will start to see that you are drawn to a certain style of invitation.
- Know what you do and don’t want. If you hate ribbon or script font, keep that at the forefront of your mind when beginning the selection process. Don’t waste time on anything that includes an element you dislike. If you have no clue about what types of stationery you like, use this pre-purchase time to figure out how your wedding theme and colors can be used within your stationery suite.
- Decide if you want to go the DIY route or the professionally printed route. If you know for a fact that you want letterpress invitations, don’t waste time researching cardstock prices and pocketfold options. Instead, use your time wisely and spend it investigating different types of letterpress invites. The same goes for DIY brides — there’s no need to take up a wedding consultant’s time if you have always wanted to whip up your own unique wedding invites. Just keep in mind that DIY invitations can take time and a bit of experience with paper, printing, and cutting.
- Remember your timeline. No matter if you order online or through local stationery vendor, remember that you must send out your wedding invitation suite no later than six weeks before your wedding (ideally, you’ll want to mail them out around eight weeks, especially if your event is around a holiday or you have a lot of guests that are traveling). Give your invitations plenty of time to come from the stationery vendor or online vendor — glitches in the system do happen, and you don’t want to be that bride who doesn’t have her invites because of poor timing.
If you’re purchasing professionally printed stationery, I recommend making an appointment. That way, you will ensure that a knowledgeable stationery consultant will be there to speak with you (and not the new person who’s still in training) and he or she will be prepared to spend time with you. This first consultation should occur three or four months before your wedding to give you time to make a decision and to give the store time to place your order.
Don’t rush the appointment. You’ll want to set aside at least an hour to talk through pricing options with your consultant, as well as look through the many options the store will offer. Give yourself time to think over what you’re seeing. If you feel overwhelmed, make another appointment, preferably with the same consultant. Keep the appointments close together so that your reactions to the stationery pieces are fresh in your mind.
When you’re ready to purchase, always pay for the proof. Most stationery consultants are extremely meticulous when it comes to writing down and entering the information, but they are human, and mistakes can be made. The proof comes from the stationery company, not the store you purchased from, and usually costs around ten dollars per item. It is a small price to pay for the assurance that your invites will be perfect.
Limit the number of people you bring to the appointment. Too many opinions create confusion. I recommend bringing (at most) two people with you, as any more people creates a crowded, frustrated environment.”
Have an awesome day, and Happy Planning!
-Juliette


