
Different Types of Open Bar:
Beer and Wine- Only serving beer and wine is a great way to cut some costs off your pricey alcohol bill. Not only is it budget friendly, it’s also keeps your party goers happy yet still classy. I’ve hardly ever seen a wedding guest get embarrassingly wasted from a open bar serving only beer and wine. So keep your costs down, and your guests tame with this popular option! “Stay Classy San Diego”
Beer/Wine and Signature Cocktails- Enjoying perks of the above option, but still want to have those cute signature cocktail names like “The Blushing Bride” or the “Mint to be Mojito”? Go ahead and have them! A great idea is to serve these signature drinks during cocktail hour only. Another hint, if you don’t want the bottles of ingredients used in shot form- design cocktails that can be premixed in a batch. This ensures the hard alcohol will only be used in it’s designated diluted form.
Full Bar- If you want your guests to have one heck of a crazy night, splurge on the full bar. Because the word OPEN translates to Indulge in bar language, be prepared with plenty of each type of alcohol your guests might request, and have the kind of night no one will remember. Just make sure to have your photographer there late in the evening, so the black mail photos are well documented. And a transportation service for guests to have a safe ride back to their hotel!
How much?
General rule is plan for each guest to consume one drink per each hour of the event. (100 guests x 5 hour event = 500 drinks to be served). This evaluation will fluctuate depending on your crowd. Some drink less than others. Some drink more. You know the kind of people you’ve invited, so use your best judgement.
If your wedding is on Sunday-Thursday, and most of your guests are local, the evaluation above will stay the same, however it will be less alcoholic beverages and more soft drinks and water.
If your wedding is in the peak summer months, make sure there is enough water for everyone to have 3-4 servings, in addition to the alcohol they consume according to the above evaluation.
For more information, read this previous article regarding how much alcohol to purchase for your wedding→ https://simplyelegantweddingplanning.com/calculating-alcoholic-beverages-for-your-wedding/
Happy Planning!


1.
If you are having a buffet, you don’t need assigned seats! You can totally get away with open seating (if that’s your style)!
2.
If you are having a plated meal, you MUST assign guests to a seat. There should be either an seating chart or a table of ESCORT CARDS near the entrance of the reception. This is in addition to the PLACE CARDS at the guests seat, telling them which seat at the table is their’s. The catering staff will need to have the seating chart sent to them in advance, with notes on which guest will be served which meal and any food allergies.
 3.
3.
On the PLACE CARD, there should be some symbol that illustrates which meal the guest has selected. In case the cards get mixed up in placement (or let’s be honest, a guest moves themselves to a different seat), the guest will still be served the correct meal.
 4.
4.
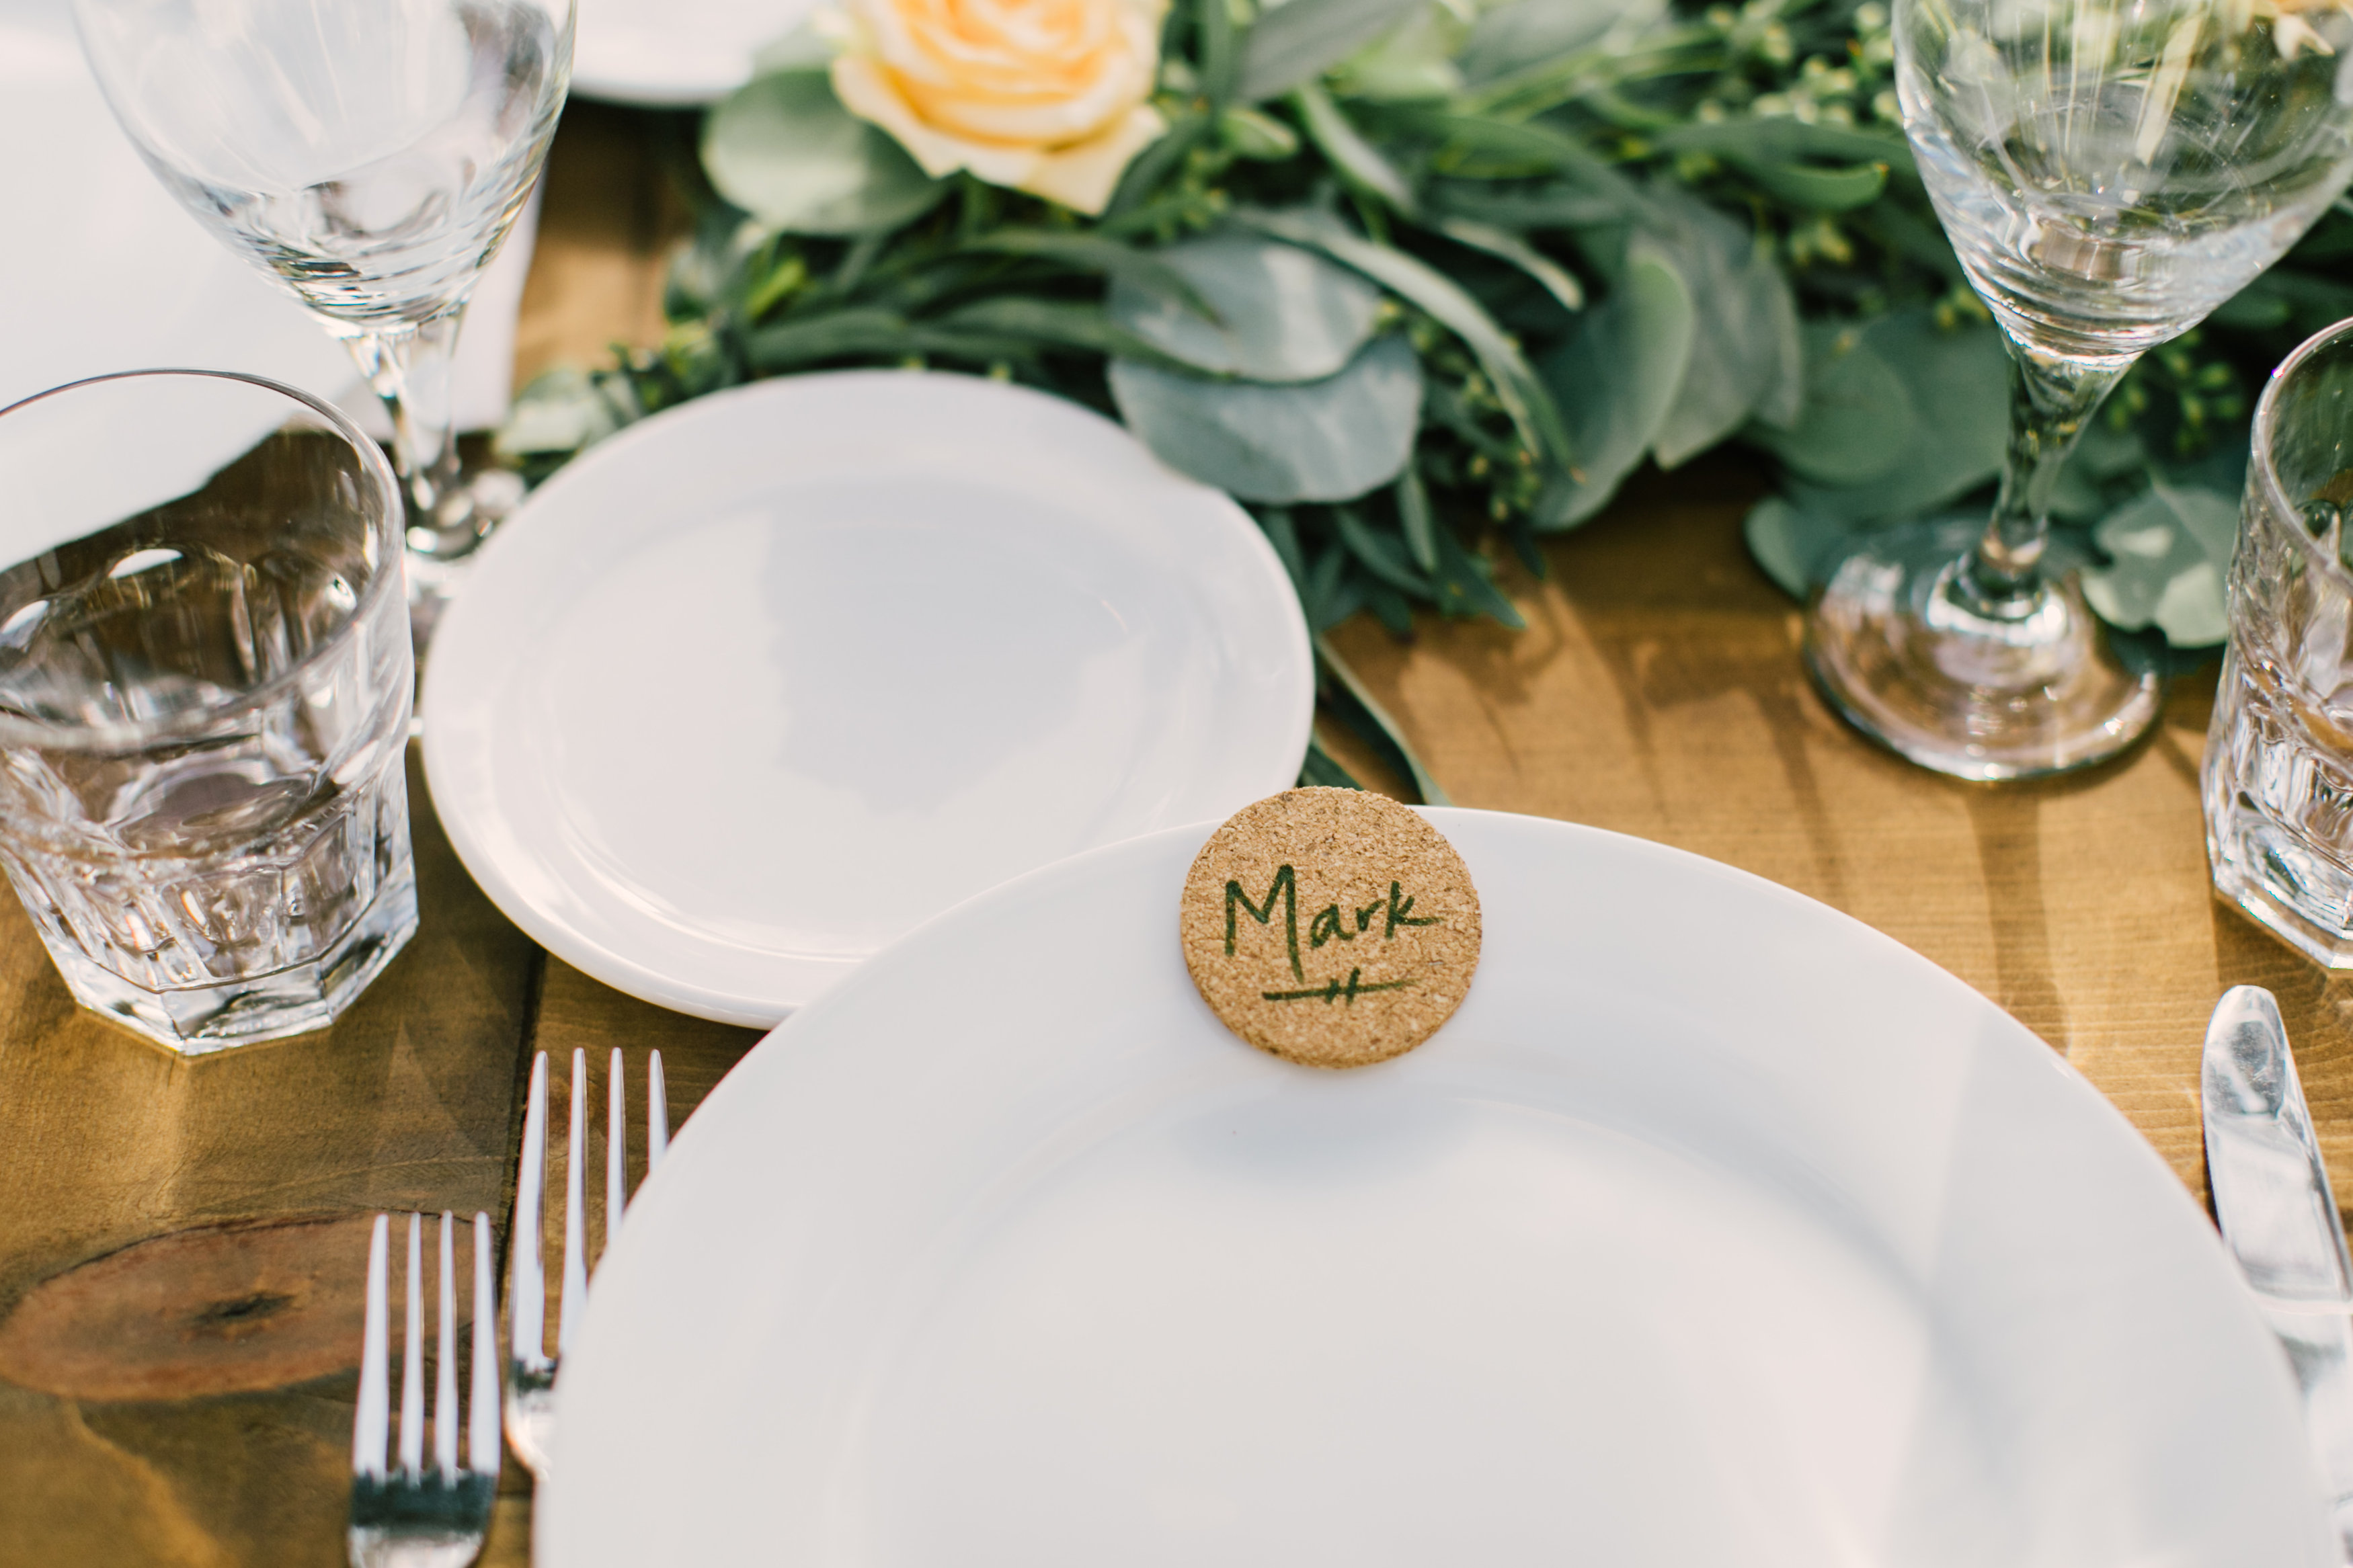
A Place Card is the one that is at the place setting. An Escort Card is the one they pick up at the entry, telling them which table to find.
5.
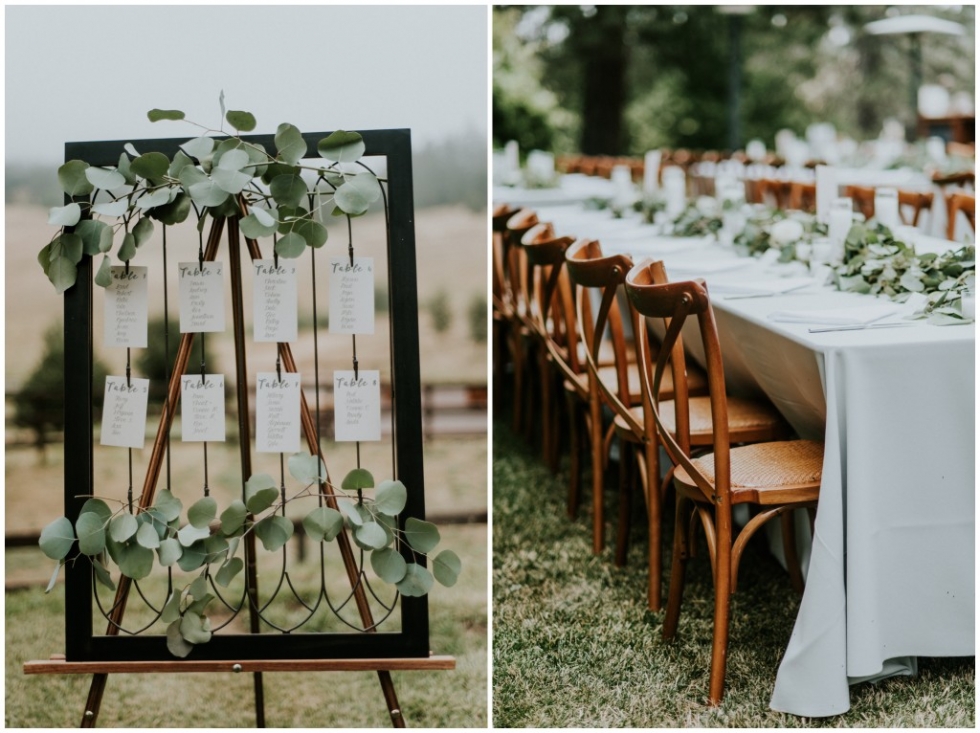
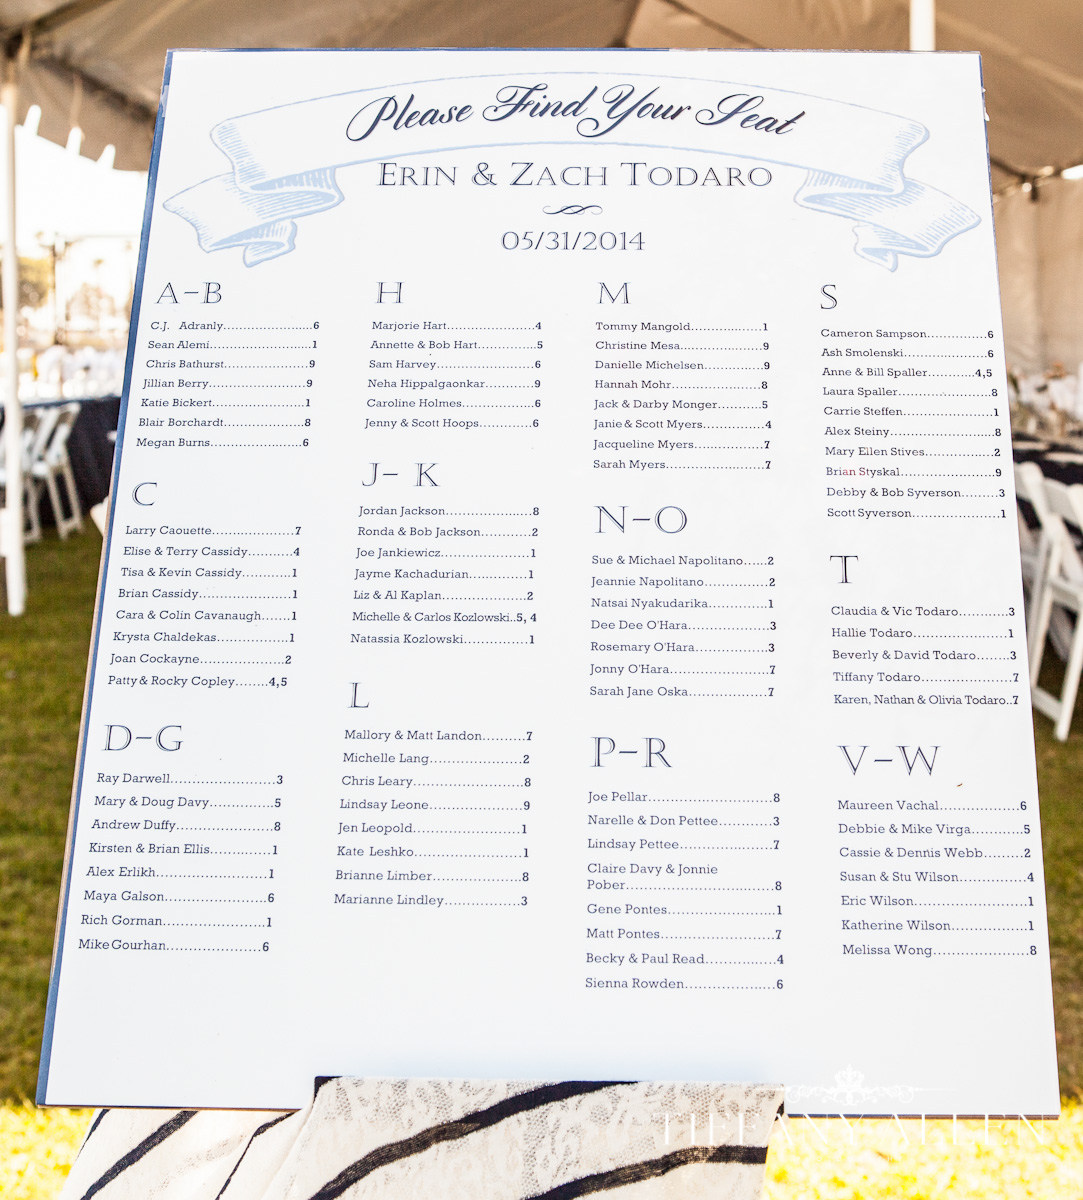
Escort Cards or Seating Charts should be arranged by ALPHABET, NOT TABLE NUMBER. None of your guests know what table number they will be sitting at until they find their name! It will create a huge line and back up the entire reception.
6.
If you have a large guest list, your seating chart or escort card display should be accessible during the cocktail hour (after the ceremony). This will give your guests something to do during that time, other than drink. It will also help the transition to their dinner tables run smoothly and quickly.

1.
There is a big difference between someone who takes good photos and a wedding photographer. There is limited time to get all the photos of your family, wedding party, and most importantly you and your new spouse. A professional knows how to organize all your guests to get the photos they need, in the small window of time allotted for photos.
2.
Prepare a Must Have Photo List for your photographer. This should include a list of photos, descriptions and names of the people that should be in image. ie: Photo of Bride and Groom with Both Grandparents (Bride, Groom, Grandma Gladis, Grandpa Jim, Grandma Catherine, and Grandpa Gary.
3.
Don’t forget to be a little flexible on your wedding day! There may not be enough time to walk to that spot you’ve been thinking of taking photos at, or it might not be the best lighting. Let go and trust your photographer. If you chose the photographer based on the amazing photos you know they can produce, then relax and let them take the reigns. You need to relax in order to look good in those photos anyway!
4.
If your photographer has never been to your venue before, set up a site tour for them. You can walk the venue space together and discuss the best plan of action ahead of time, so there’s no guess work on the wedding day!
5.
Remember to tell your photographer where you will be getting ready/getting into your dress. If it is not at your venue, they will need to build travel time into the time they are allotting for all the photos they have to take!
6.
Meet with your photographer IN PERSON before you sign on the dotted line. This vendor is going to be with you more on your wedding day than anyone else. If you don’t like their personality at a meeting, you’re definitely not going to like them or feel comfortable with them on your wedding day when tensions are high! If they bug you or make you feel even the slightest bit of discomfort, don’t book them for your wedding!!!

1.
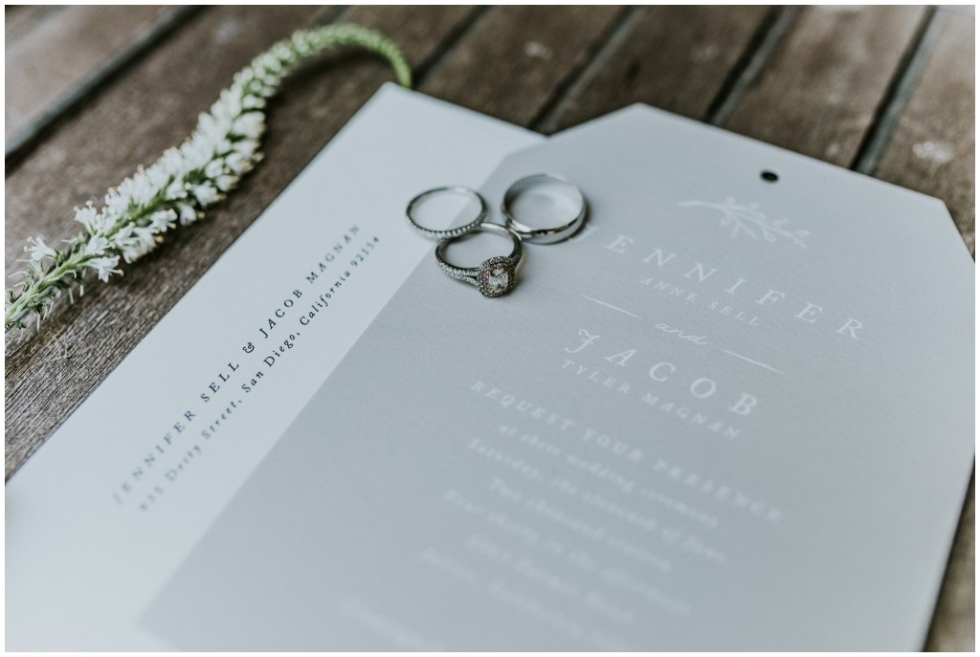
Begin looking at invitation options about 6 months before the wedding day
2.
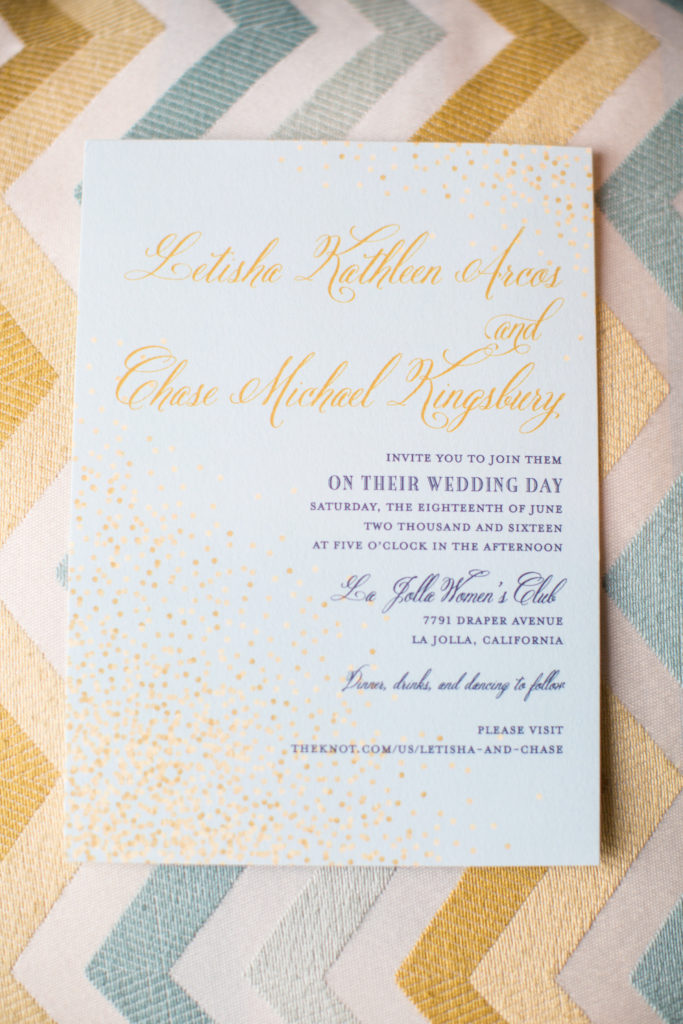
Order proofs of your invitations to make sure they look and feel the way you envision them. Proofs are normally free. But make sure to allow for time for the company to print and ship the proofs to you, then time to make any adjustments needed, and still be able to place the big order on time!
 3.
3.
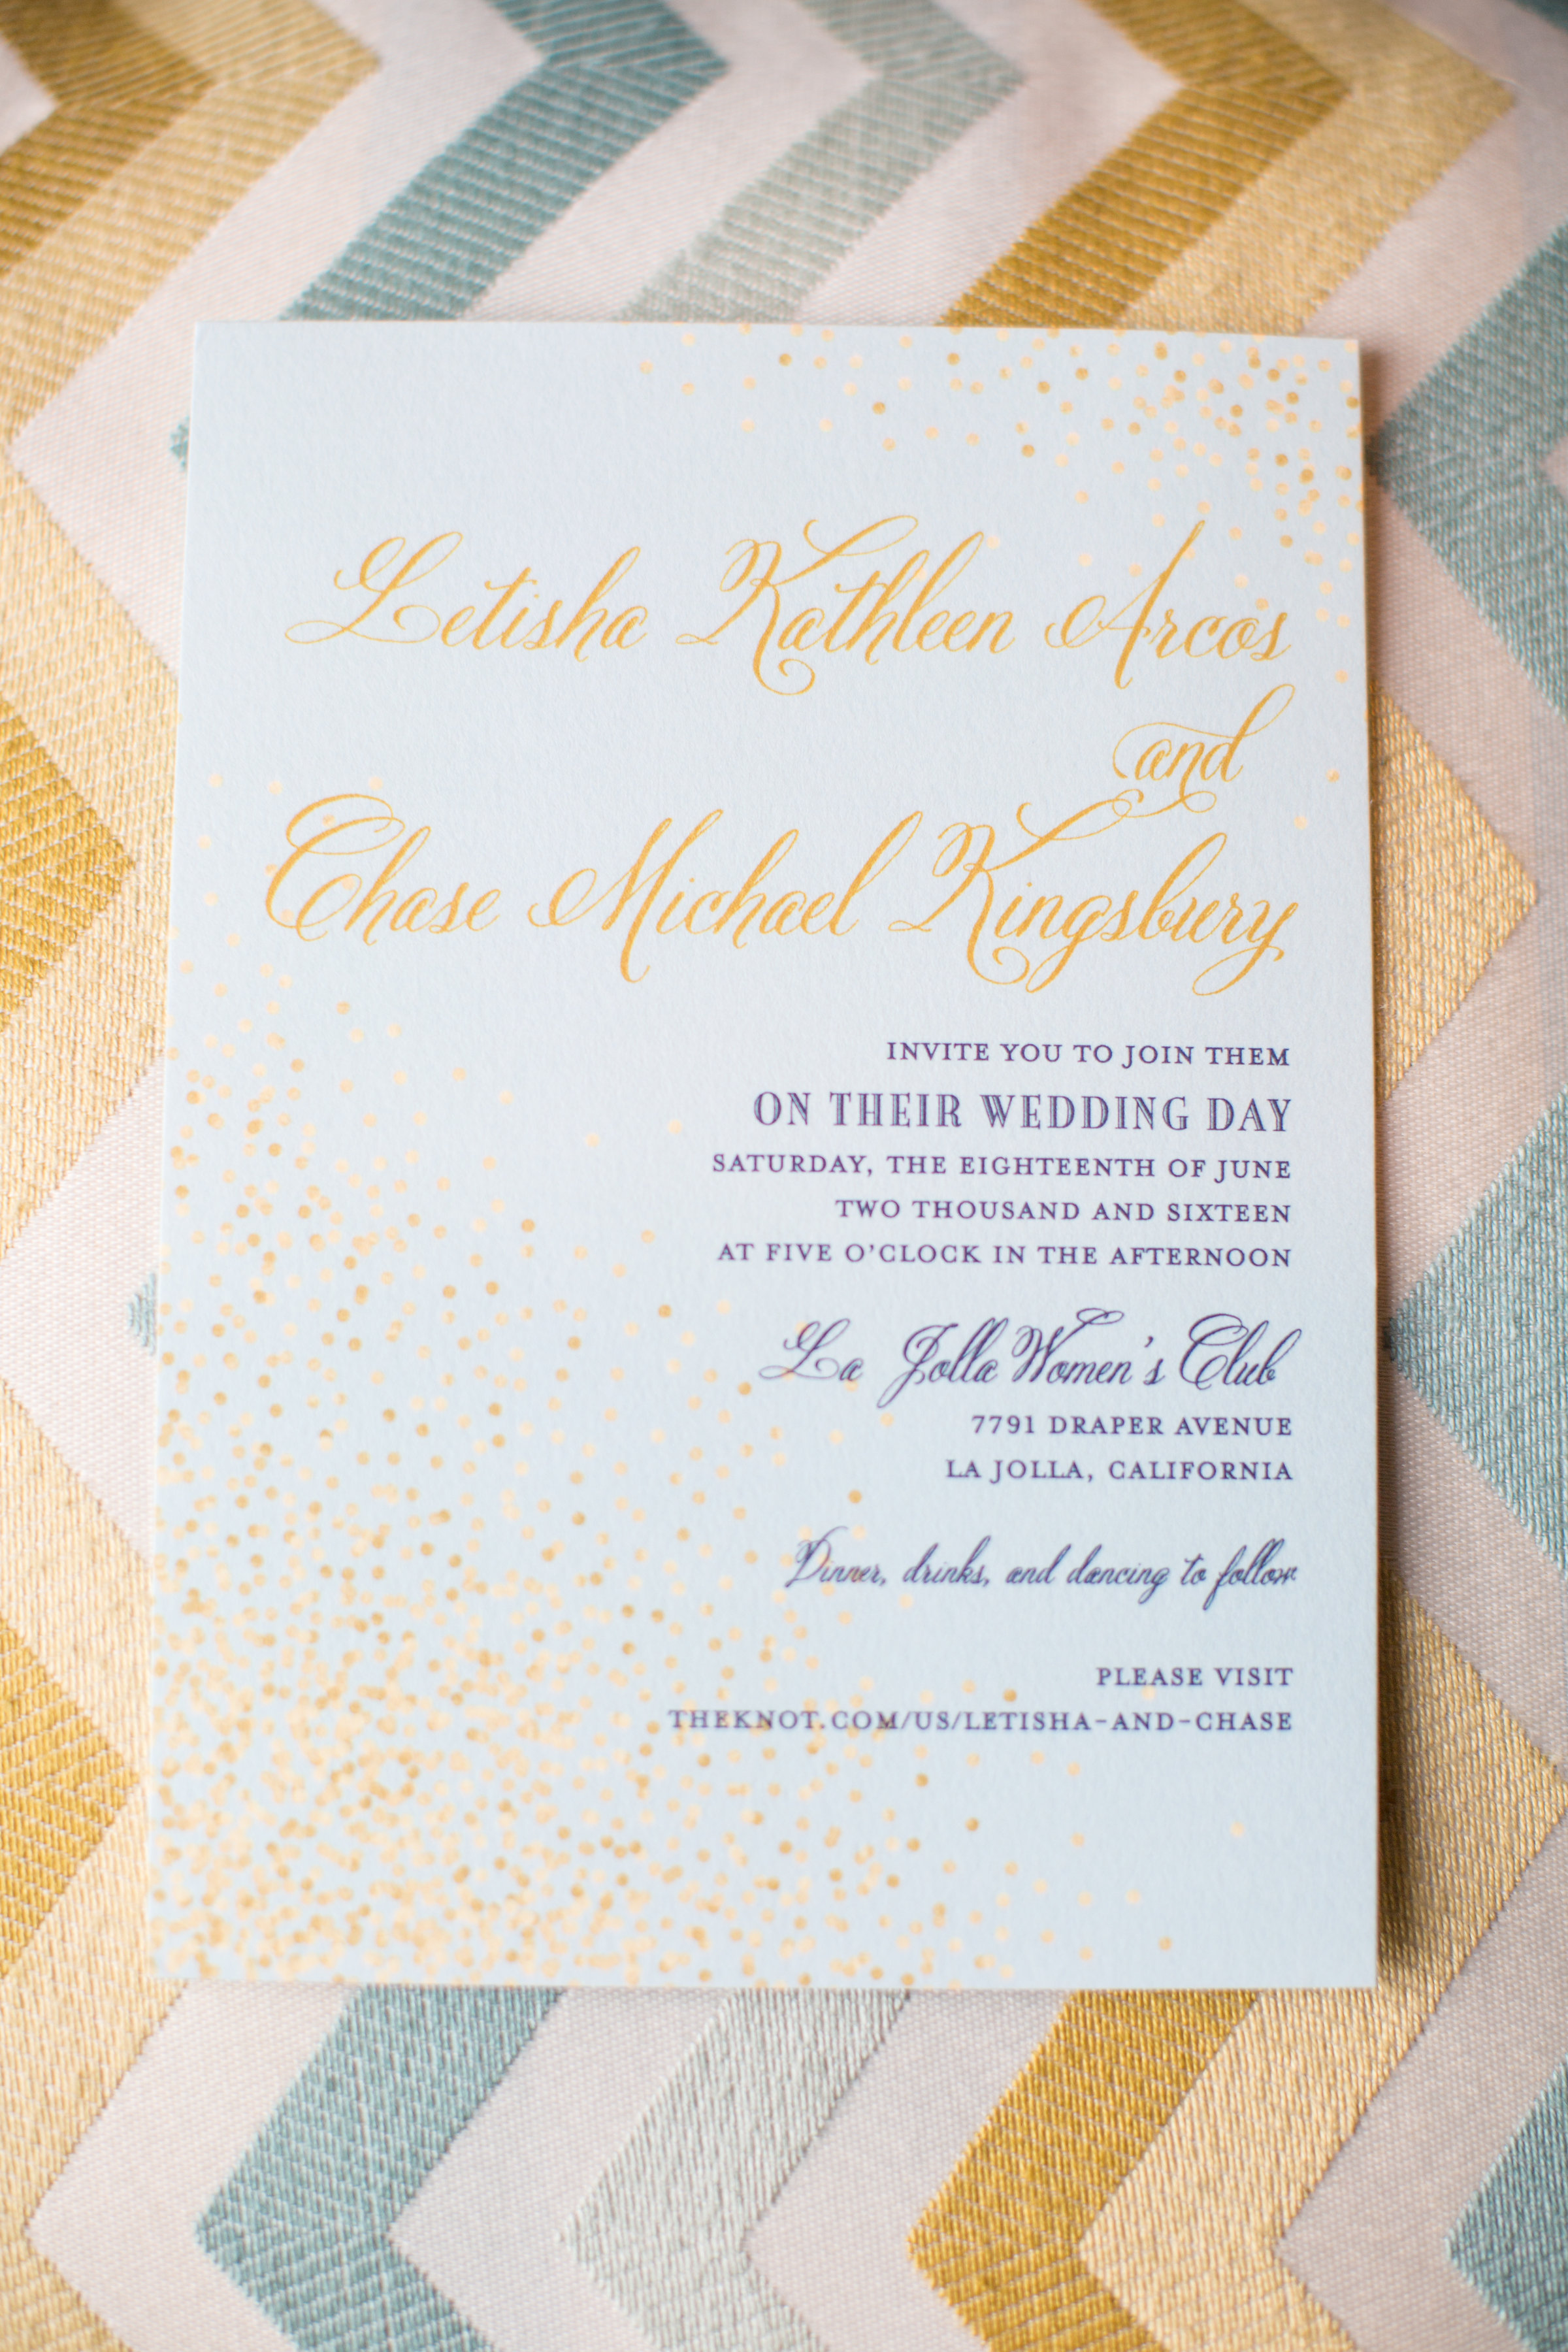
Place the FINAL order for your invites 4 months before your wedding date. (If you are ordering them from a custom stationer, order them 5 months before the wedding).
4.
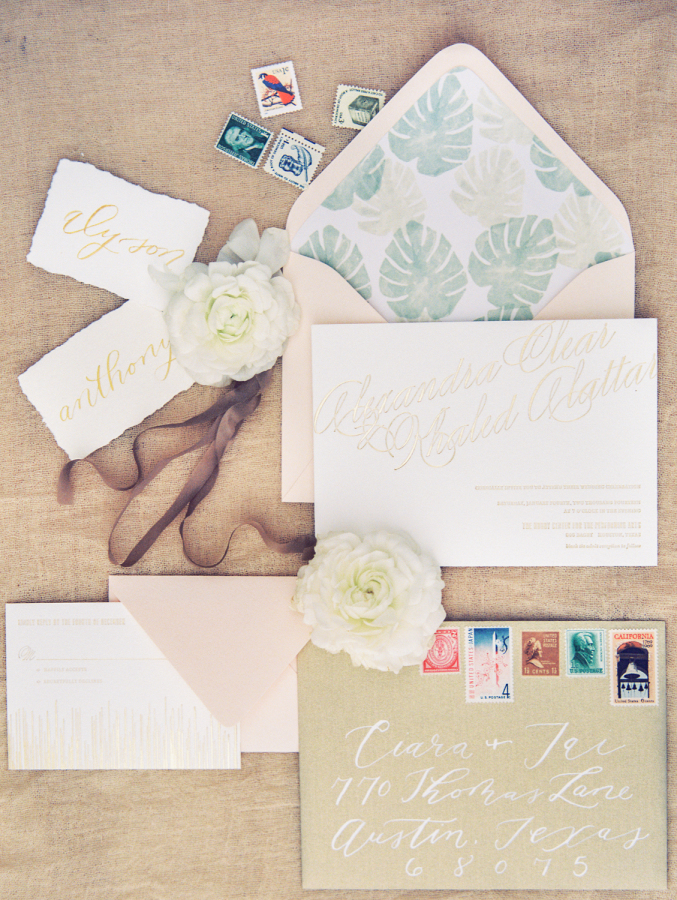
Once you have the invitations in hand, set up a night with your family or your bridesmaids, to put together the invitation suite, stuff the envelopes, stamp, and address! Put the person with the best hand writing in charge of addressing, or print the addresses directly onto the envelopes with your inkjet printer.
 5.
5.
Hand deliver the invitations to the post office. You can never be too careful! While you’re there, have them weigh one of the invites to make sure you don’t need any additional postage on the envelopes.
 6.
6.
Invitations should be sent out no later than 8 weeks prior to the wedding! Allow more time if you opted not to send Save The Dates.
7.
RSVP’s should be due 1 month before the wedding!!! This will give you 2 weeks to follow up with everyone that “forgot” to send back their RSVP. Your final guest count should be sent to your caterer and other vendors no later than 2 weeks before the event.

Stay tuned for some awesomely short articles, with some quick info on several planning topics:
Invitations
Photography
Song selections
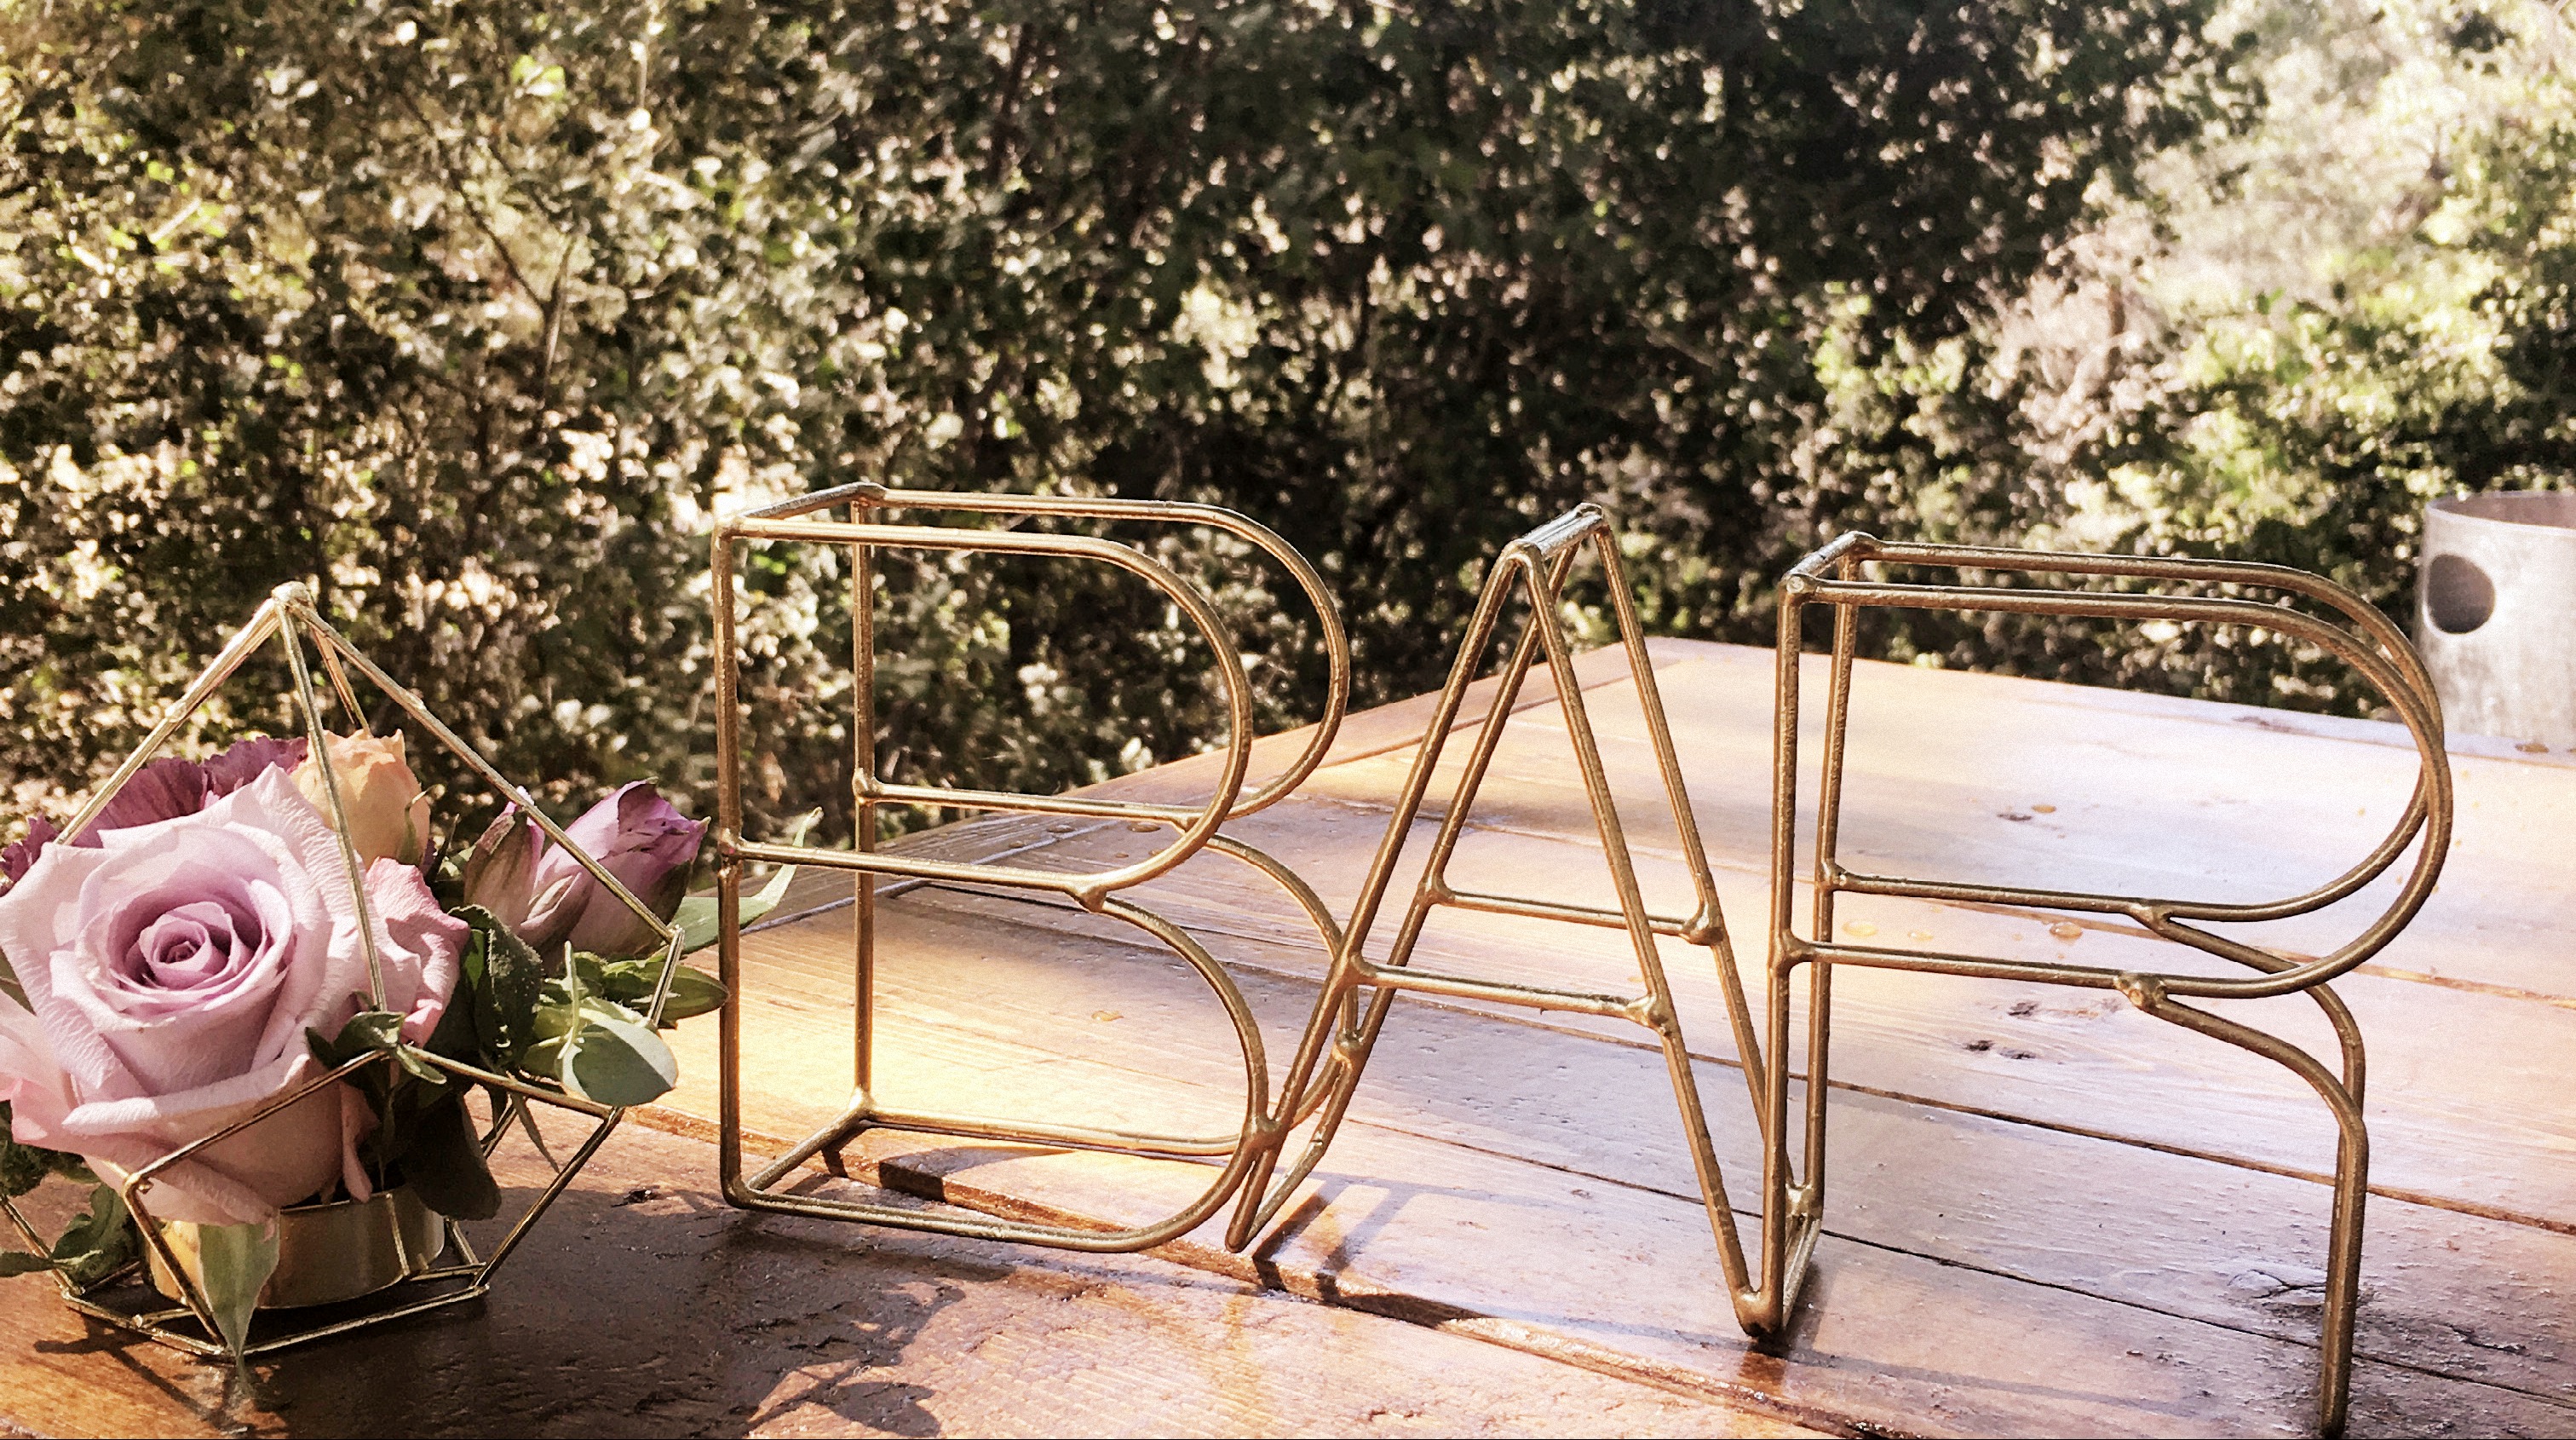
Bar Menu
Seating assignments
Signage
etc.